This is the last major step in making your crossbody bag and in some ways it’s the most difficult as you’re working with bulky pieces that aren’t flat. Here are the steps:
Starting at the top, pin or clip the gusset to the bag front matching point #1 with the seam at the top of the bag. Then work your way downward on the zipper placket and the gusset. Stop when you get within 2″ of point #3.
Ready to sew the gusset/zipper placket to the bag
Sew the pinned or clipped seam, starting and stopping 2″ from point #3.
Repeat this process for joining the gusset to the back of the bag, but for now, do not sew the zipper to the bag back.
Bottom Strap and Final Seam:
Identify the point where the gusset needs to meet the zipper placket and mark clearly. Note: Because I’m not a professional pattern maker, I wasn’t sure I’d get this correct so I made the zipper placket and the gusset extra long.
Slip the doubled over 3” piece of strapping (with the rectangular ring in place) into the seam
Markings to indicate where gusset meets the zipper assembly
Sew through all layers, attaching the bottom of the strap.
Cut off any extra fabric to leave a ½” seam.
Bottom of bag whe
Now sew the remaining seams so the gusset and zipper placket are completely installed.
After both seams are sewn, check for any places where you might not have caught the lining or the outer fabric.
Seam Finishing
The seam finish I prefer is to fold 1″ Petersham over the seam and sew it with a zig-zag stitch. Or a double folded bias binding would work however it doesn’t wear as well.
Sewing a petersham wrap for a seam finishFinished bag (inside)
In this lesson, you will complete the outside back of the bag. That is, the part that lays against your body when wearing the bag over your left shoulder.
If not already done, Using the master pattern, cut 1 piece from the outer fabric, remembering that this piece needs to be a mirror image of the outer front.
First you will create a passport pocket and then you’ll add a lower pocket. When completed the outer back will look like this:
Outer Back of Bag with passport pocket and lower pocket
Passport pocket:
Toward the top and parallel to the bag opening, insert a 6” zipper using the window method. The zipper needs to be at least ¾” from the edge to allow for the seam allowance plus a little more space.
To make the window cut a 1-½ x 7-½” facing from the bag fabric. Depending on your fabric type, you may wish to use iron-on interfacing and/or zig-zag or serge the edges of the facing.
Facing is ready to be sewn to to bag.
Sew the facing to the bag, creating a window about ⅝” wide.
Turn the facing to the wrong side, clip corners and press.
Insert zipper by top-stitching around the edges of the window.
Behind the zipper and on the wrong side of the outer fabric, top-stitch a piece of lining to create a compartment for your passport. This keeps your passport secure and close to your heart!
Tip: Double-check to make sure the pocket is large enough for your most recent passport.
Back Lower pocket:
This pocket is handy for holding boarding passes, or recently, a supply of face masks. You’ll find a use for it.
From outer fabric and using the bag front bottom pattern piece #3, cut 1 pocket.
Finish the top by creating a small band or simply turning over the edge.
Baste to edges of outer back piece.
If you’d like, install magnetic snap toward the center top of the pocket. To add durability you may wish to add another layer of fabric under the snap.
As before, match up the outer back to the master pattern to make sure it’s the same size as the master.
You now have the back outside finished and are ready for the next lesson, where you’ll make the back lining. You’re more than half-way at this point.
Now that the outer front is completed, you’ll need to use the master pattern to cut a lining piece to be a partner to the outer piece.
Patch pocket (for the top half of lining):
Cut a 3 x 5 piece from the lining fabric and create a patch pocket by folding edges under and topstitching it to the lining.
I use this pocket for my credit card wallet or similar so if you have a different purpose for this pocket, you may wish to size it differently. Because it’s in the top section of the lining, it helps to assure that the majority of contents of your bag don’t land in the bottom of the bag.
Close-up of upper patch pocket.Positioning of patch pocket is more visible here.
Large zippered compartment (bottom half of front lining):
For the lower zippered pocket, cut 2 pieces, using the bag front bottom front pattern piece #3.
Trim ½ ” from the top of the pocket pieces (the purpose of doing this is so all pocket seams don’t stack on top of each other at the edges.
Sew a zipper to the top of the 2 pocket pieces. There’s no magic here, just stitch the zipper in any way you choose.
Clip or pin the pocket to the front lining piece. In doing so you’ll create two lower pockets, one zippered and one behind it with an open top.
The front lining is now complete
Front Assembly:
Place the front lining and front outer piece together with wrong sides together.
Baste all layers close to the edge and trim any errant edges which don’t line up.
Set aside the front section and feel proud of your work.
My apologies but I missed taking a photo of this step however the photo above shows the completed lining.
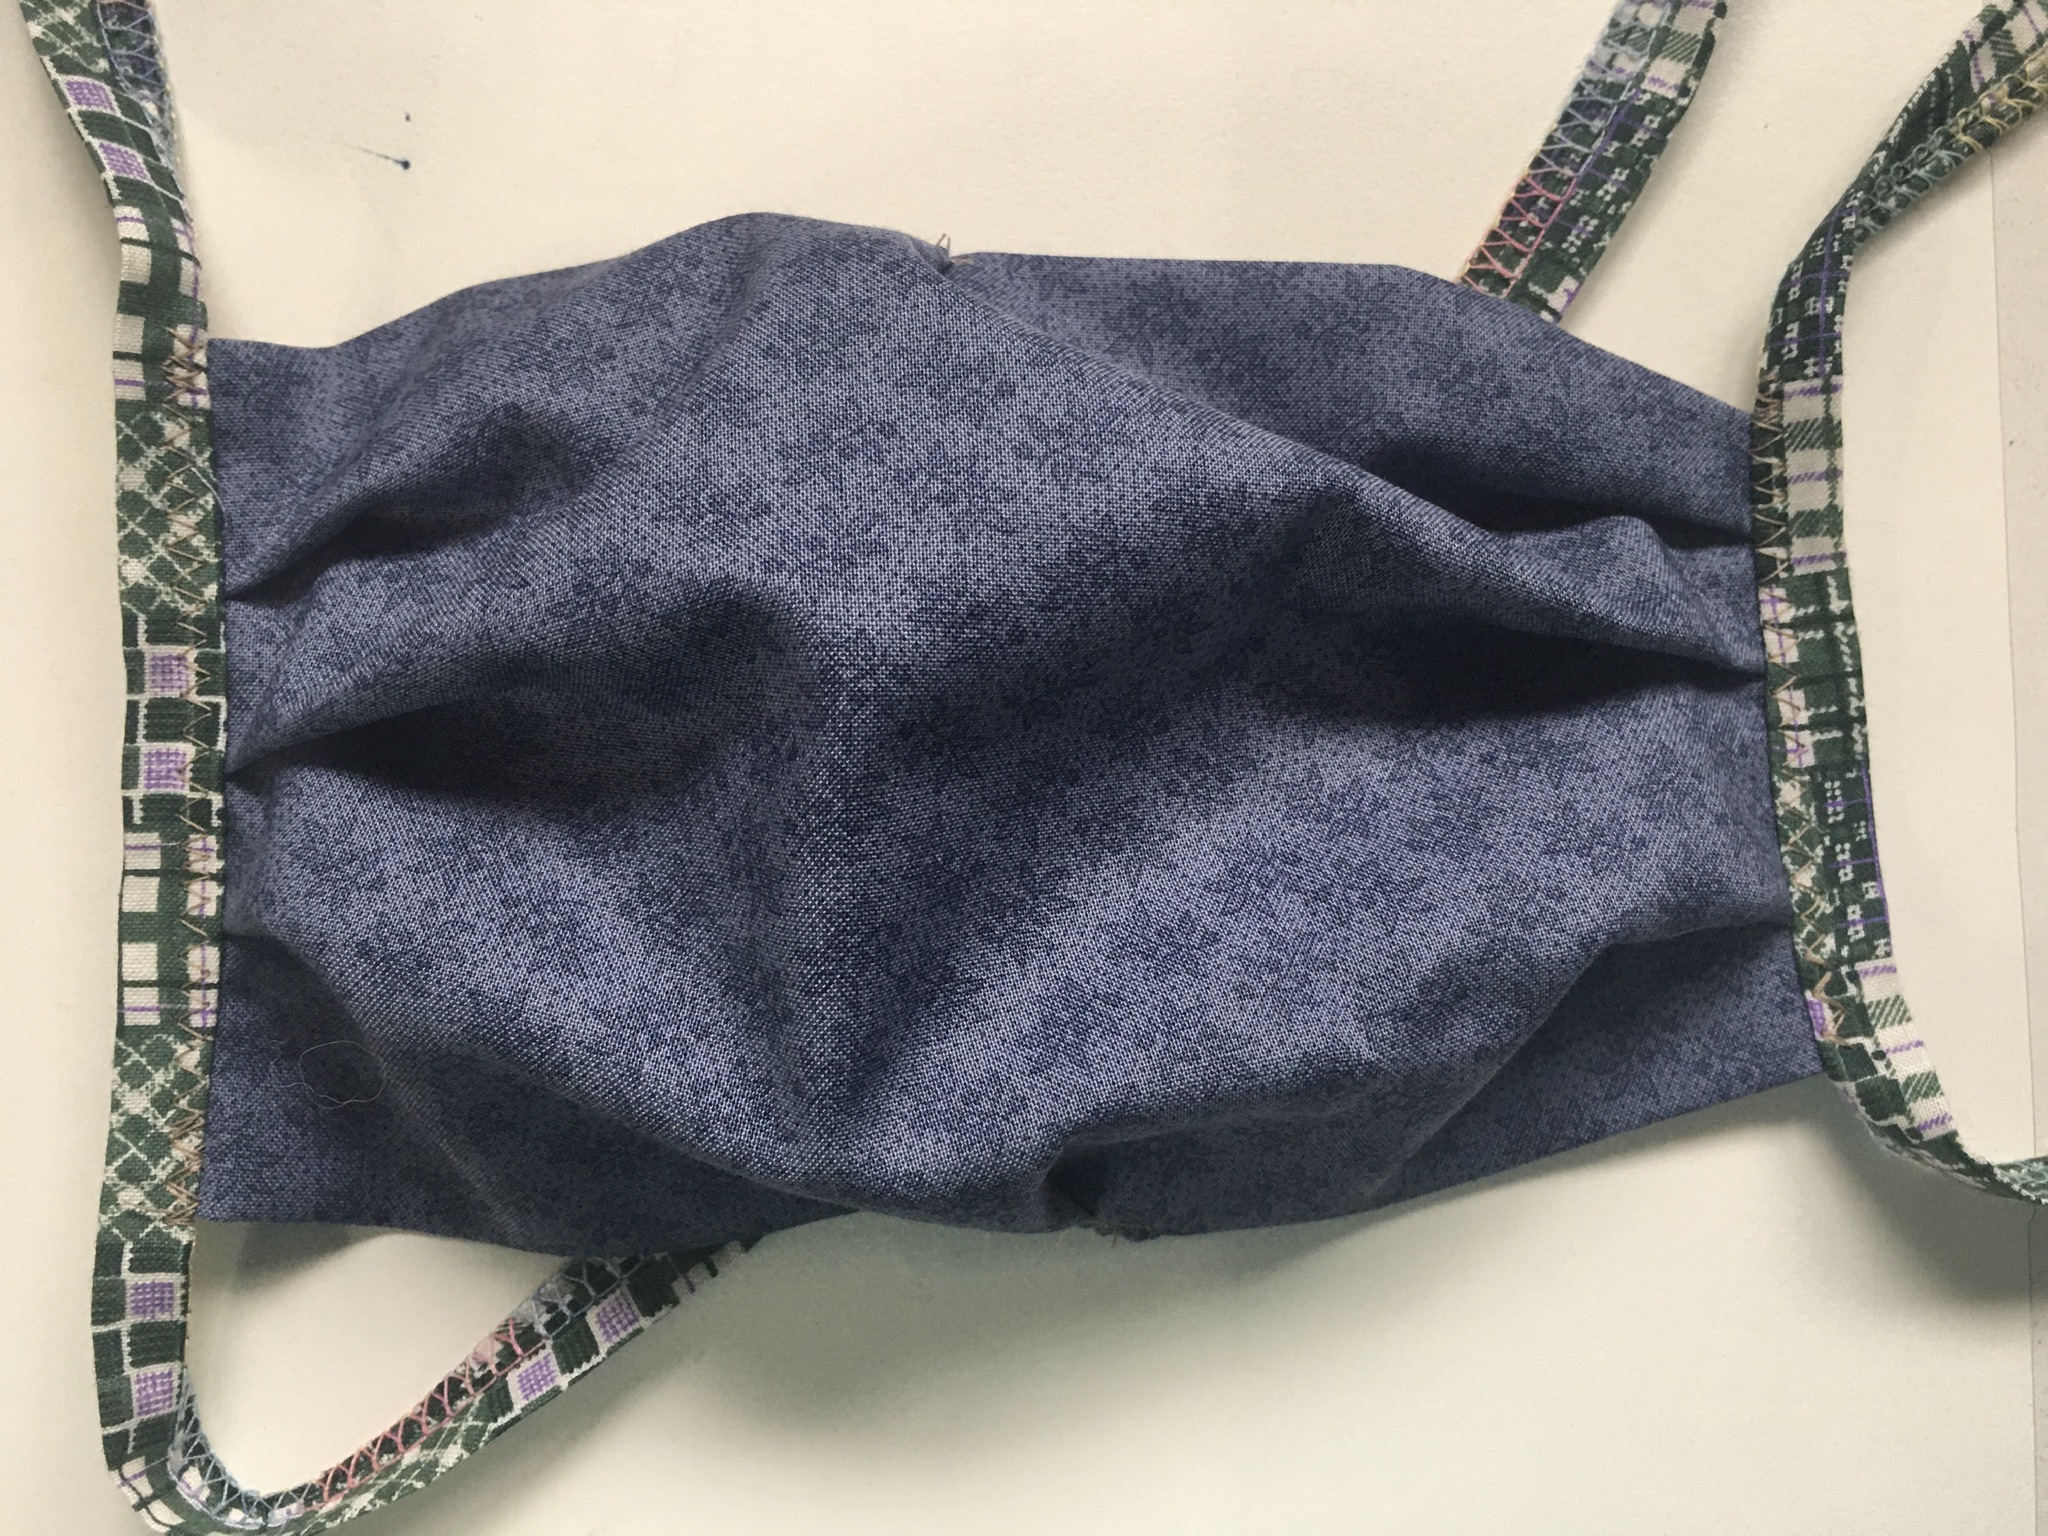
With Coronavirus raging, and all of us fighting to prevent from being a victim of the illness, there are dozens of surgical or medical mask patterns which can be constructed from fabric. Some are fitted, some are pleated and some are designed to insert a filter. In addition, some have ties and some use elastic for behind the ears.
Over the past several weeks, I’ve used 4 or 5 patterns and have made dozens of masks for family members, friends and to donate to healthcare institutions. Depending on which style, they take from 15-60″ per mask. Also, most are machine sewn, While paper masks are appropriately being used to address the healthcare shortage, there is a need for quick and easy masks that can be sewn with a sewing machine or hand-sewn with needle and thread. This mask construction takes about 15″, especially after sewing a few.
Details:
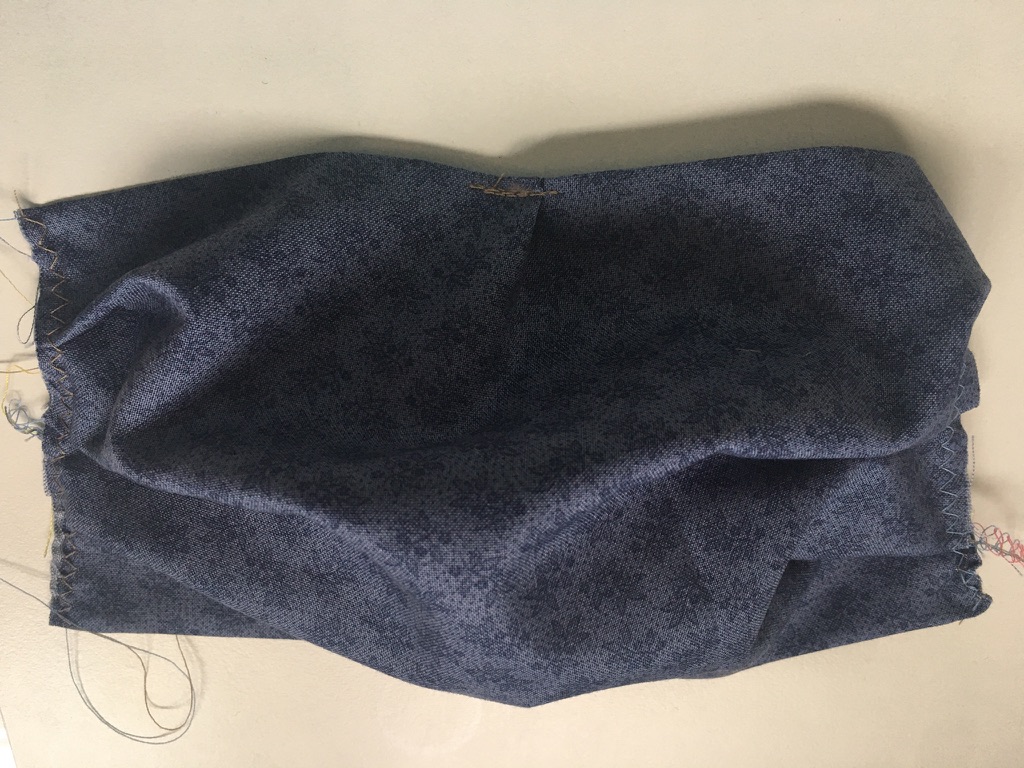
Made from a single piece of fabric plus the ties.
Ties can be made from fabric, ribbon, shoe laces, twill tape or whatever you can find in the house.
Fits over the nose and chin without needing to find the correct type of product to use for a nose wire.
Can be hand-sewn or machine sewn.
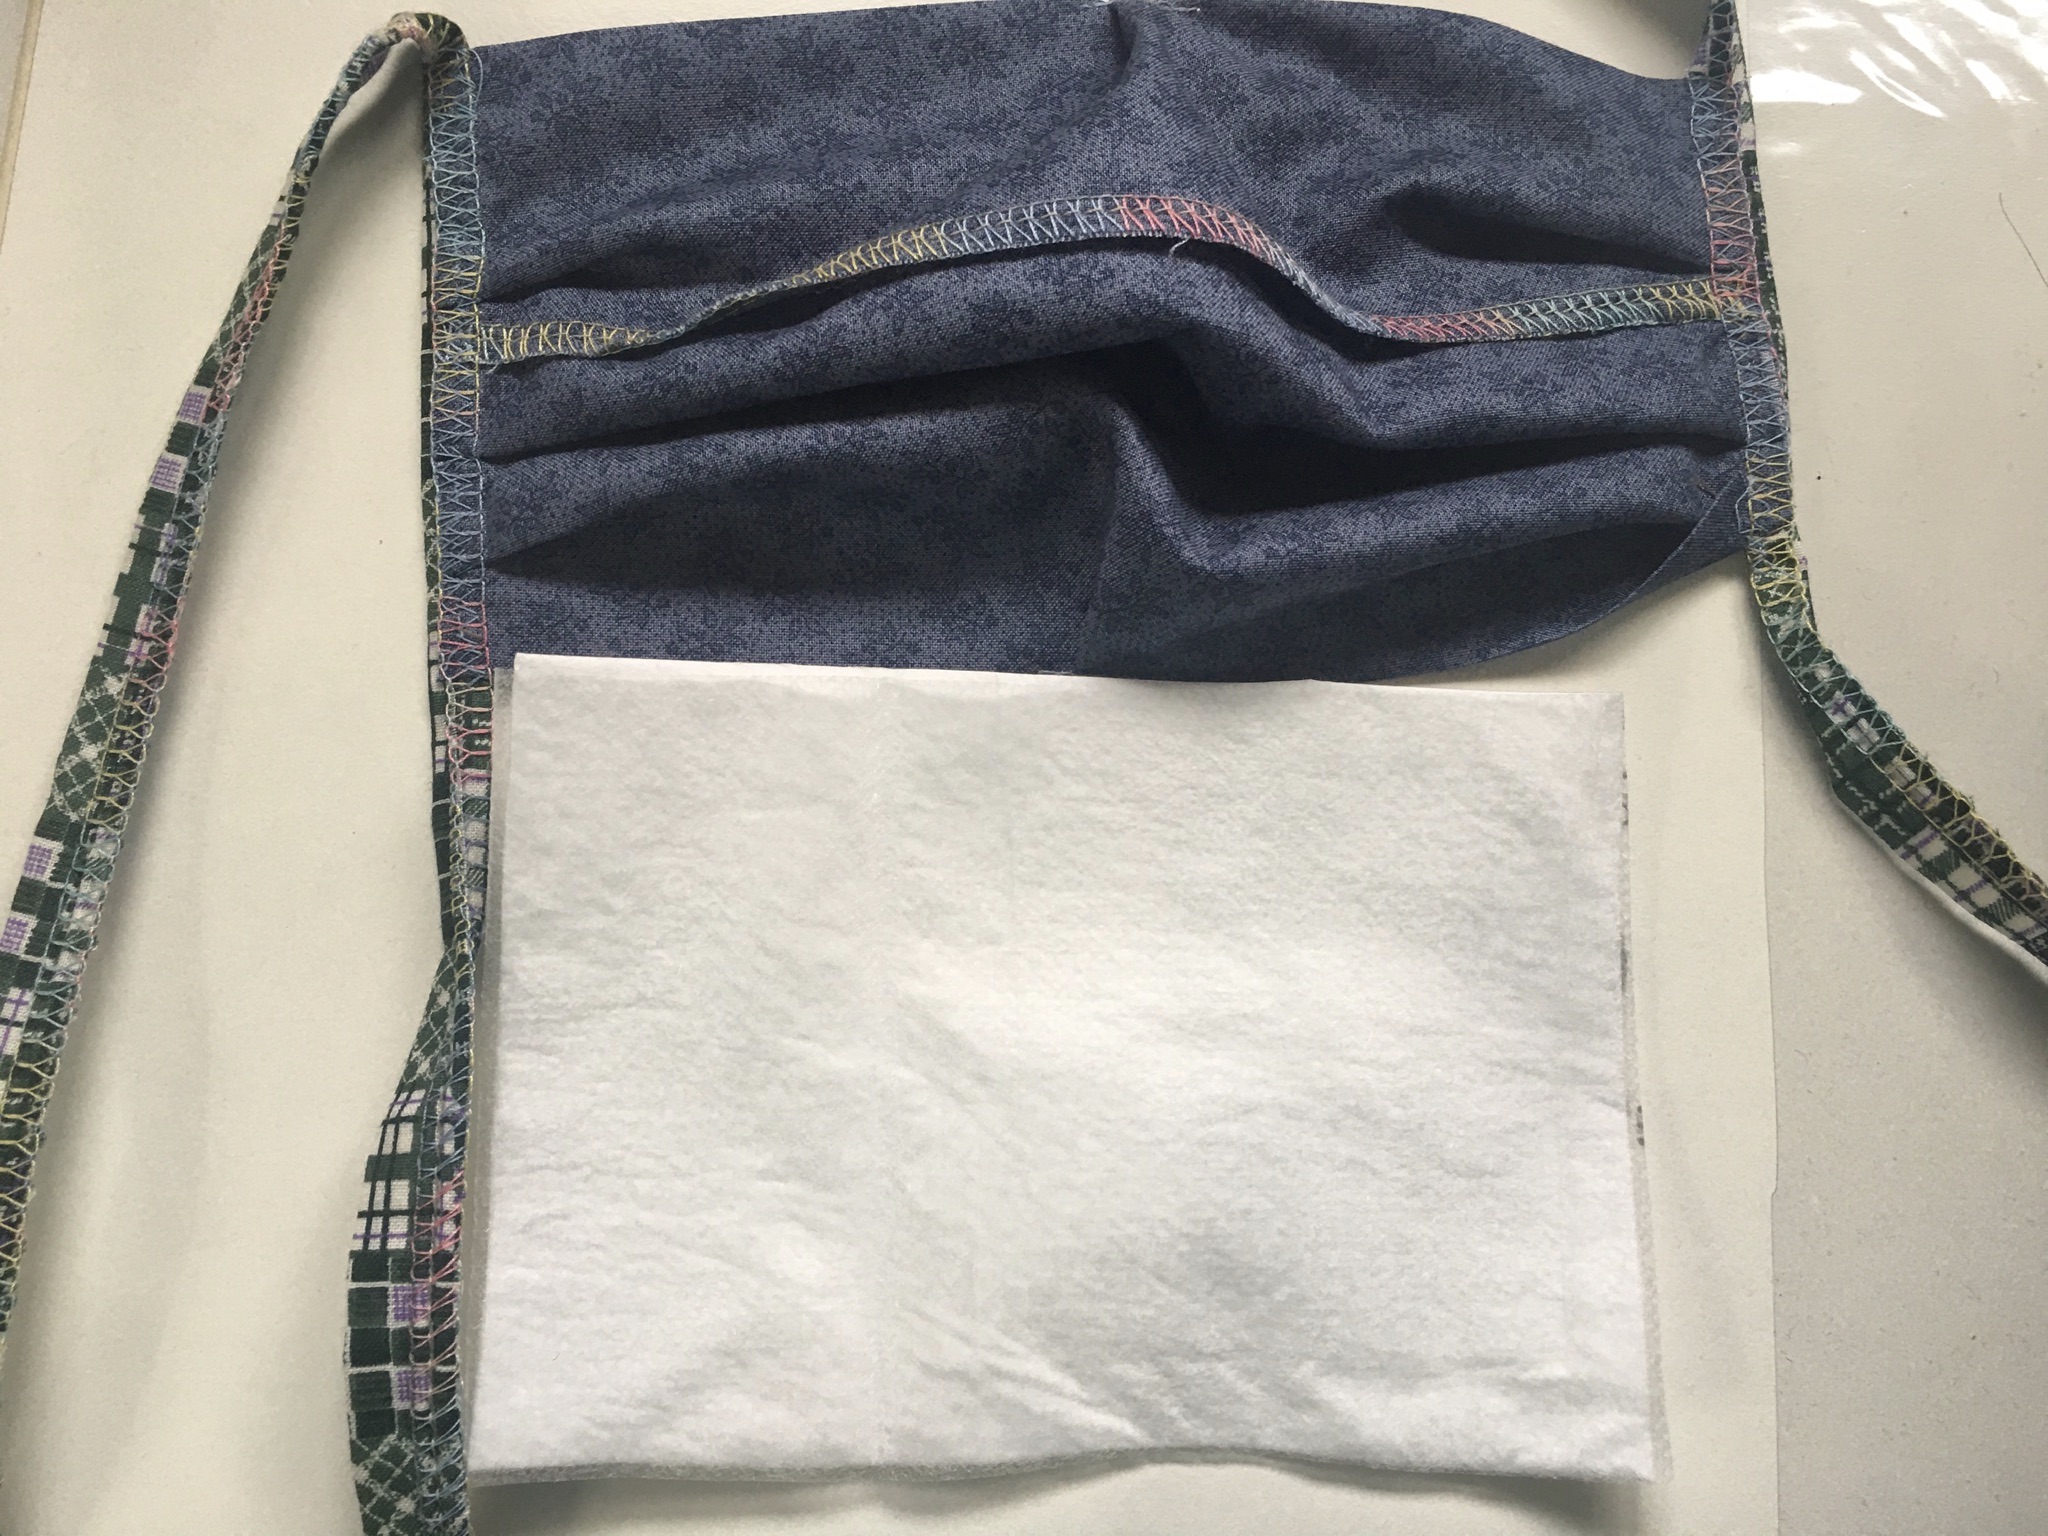
Can be worn with or without a filter inserted between the 2 layers of fabric.
The construction is detailed on the attached pdf, so I’ll not repeat here. Just click on this link for detailed instructions.
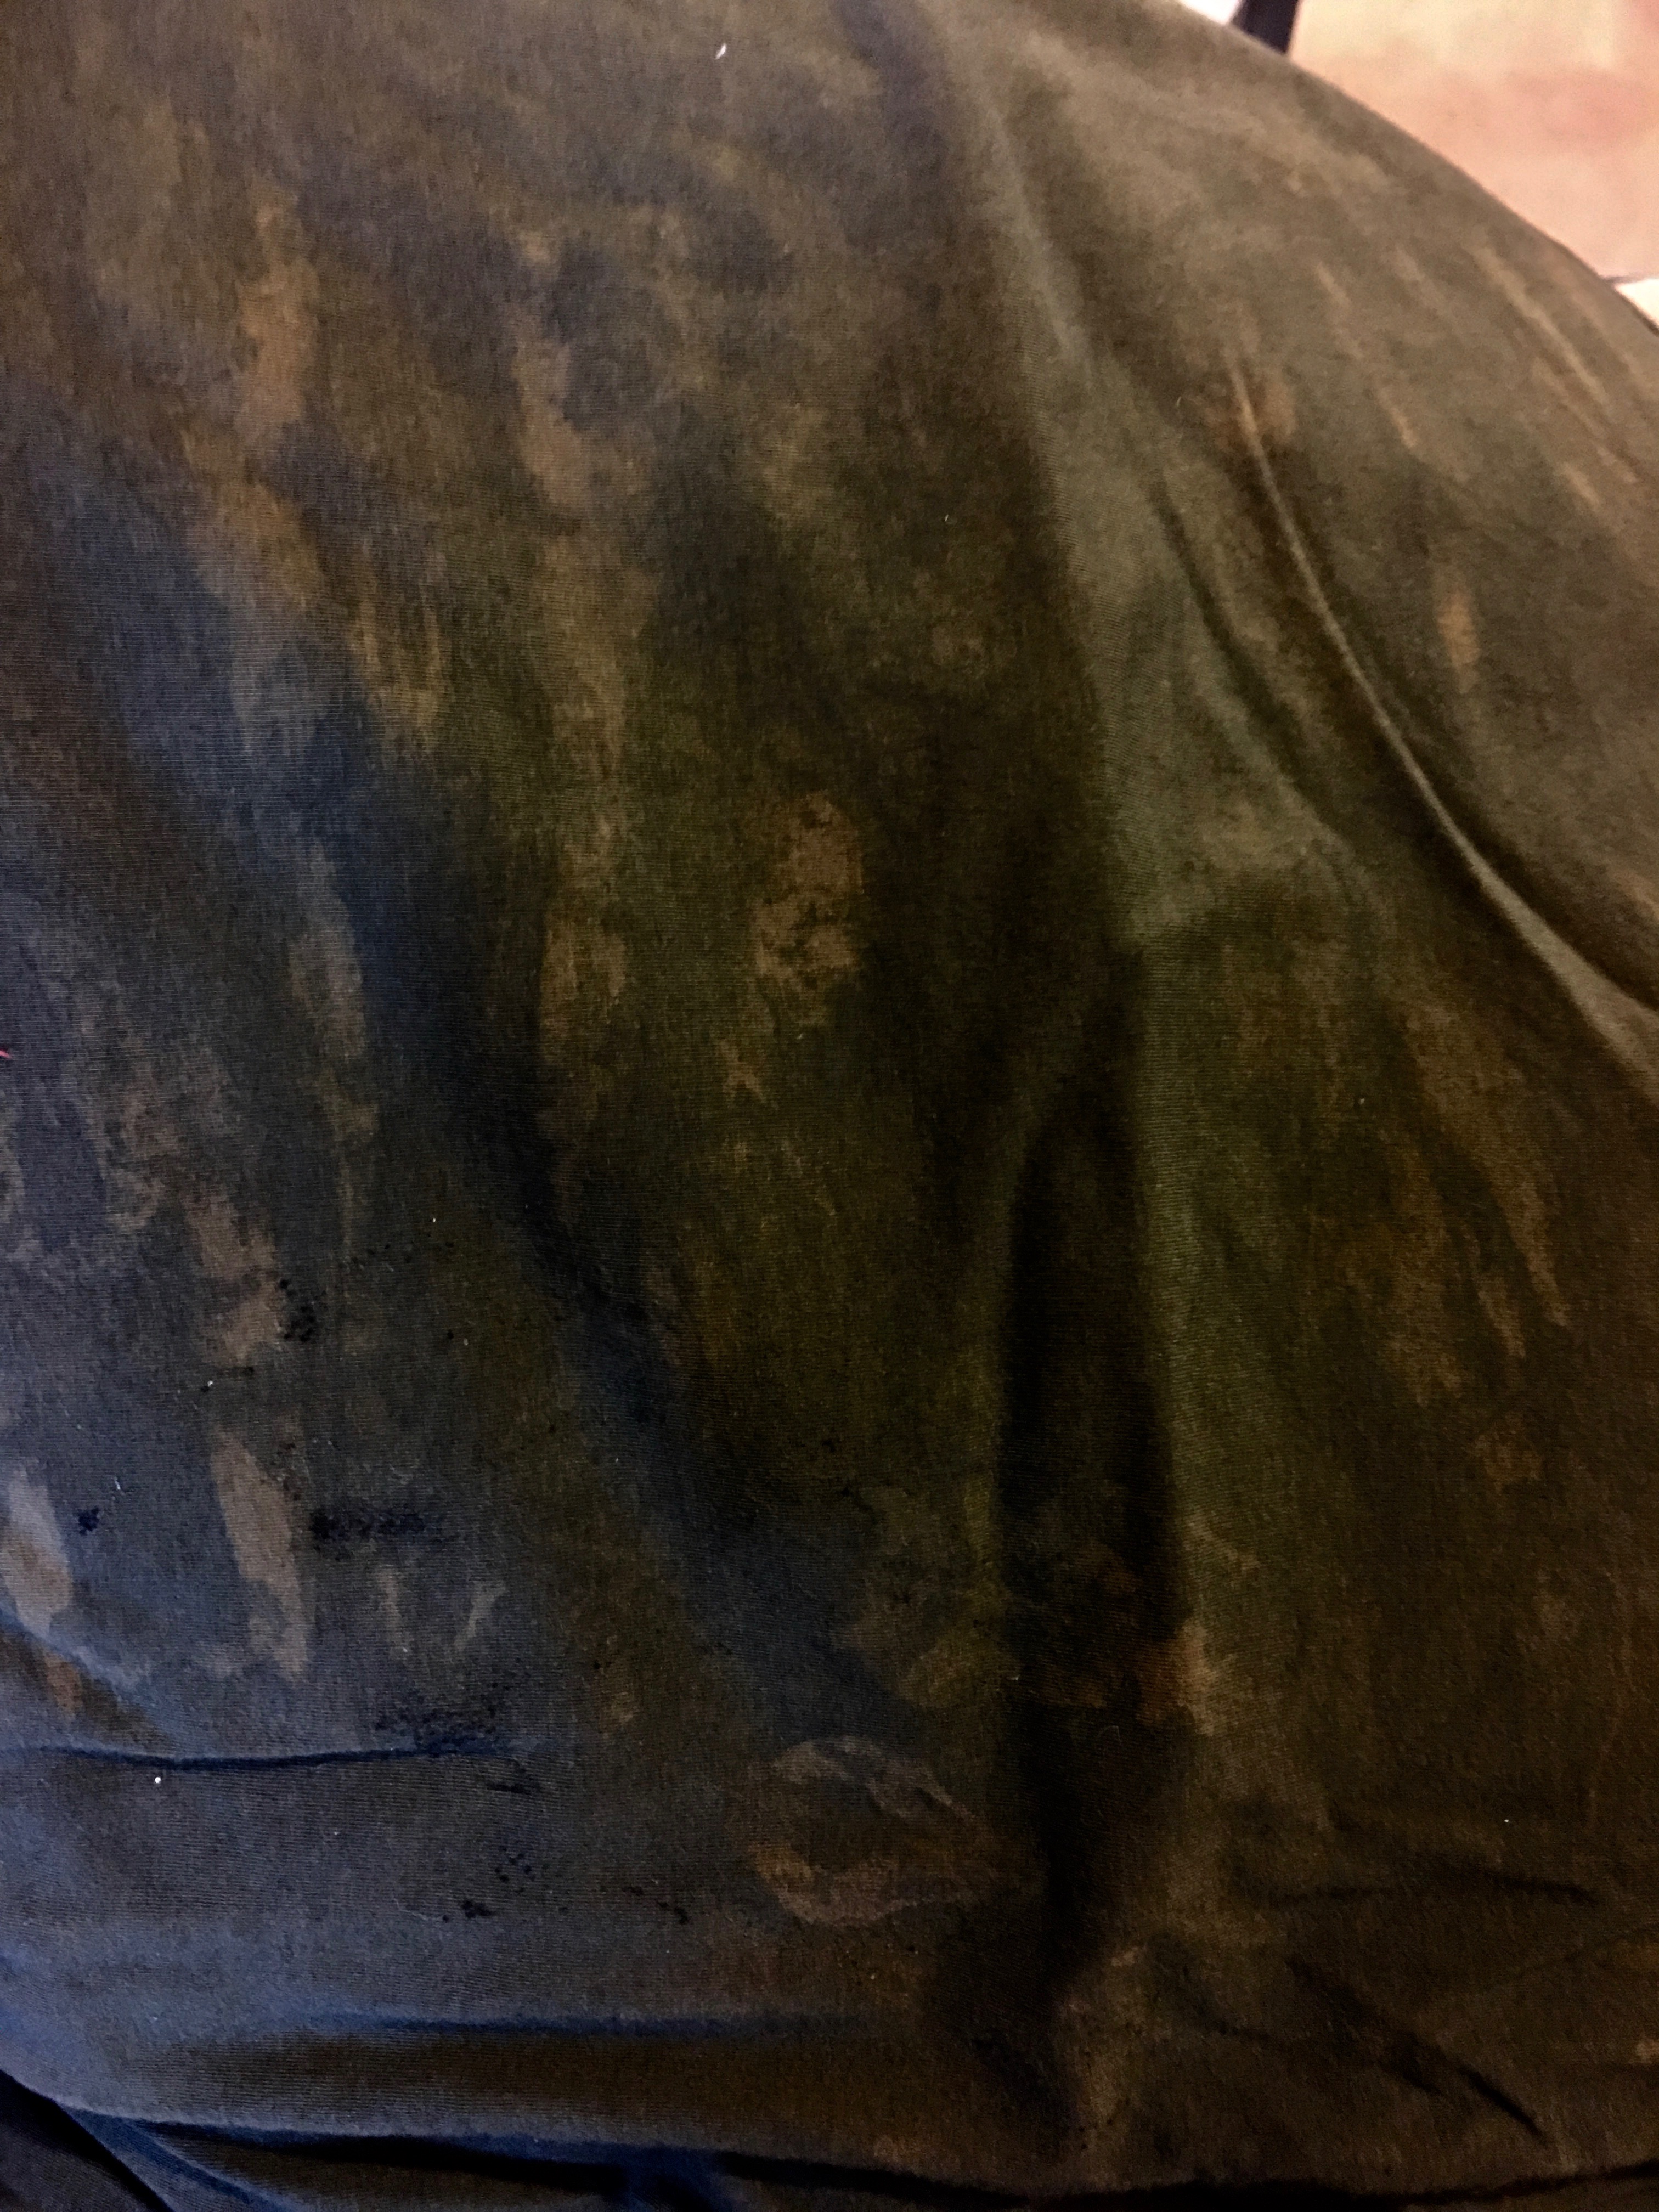
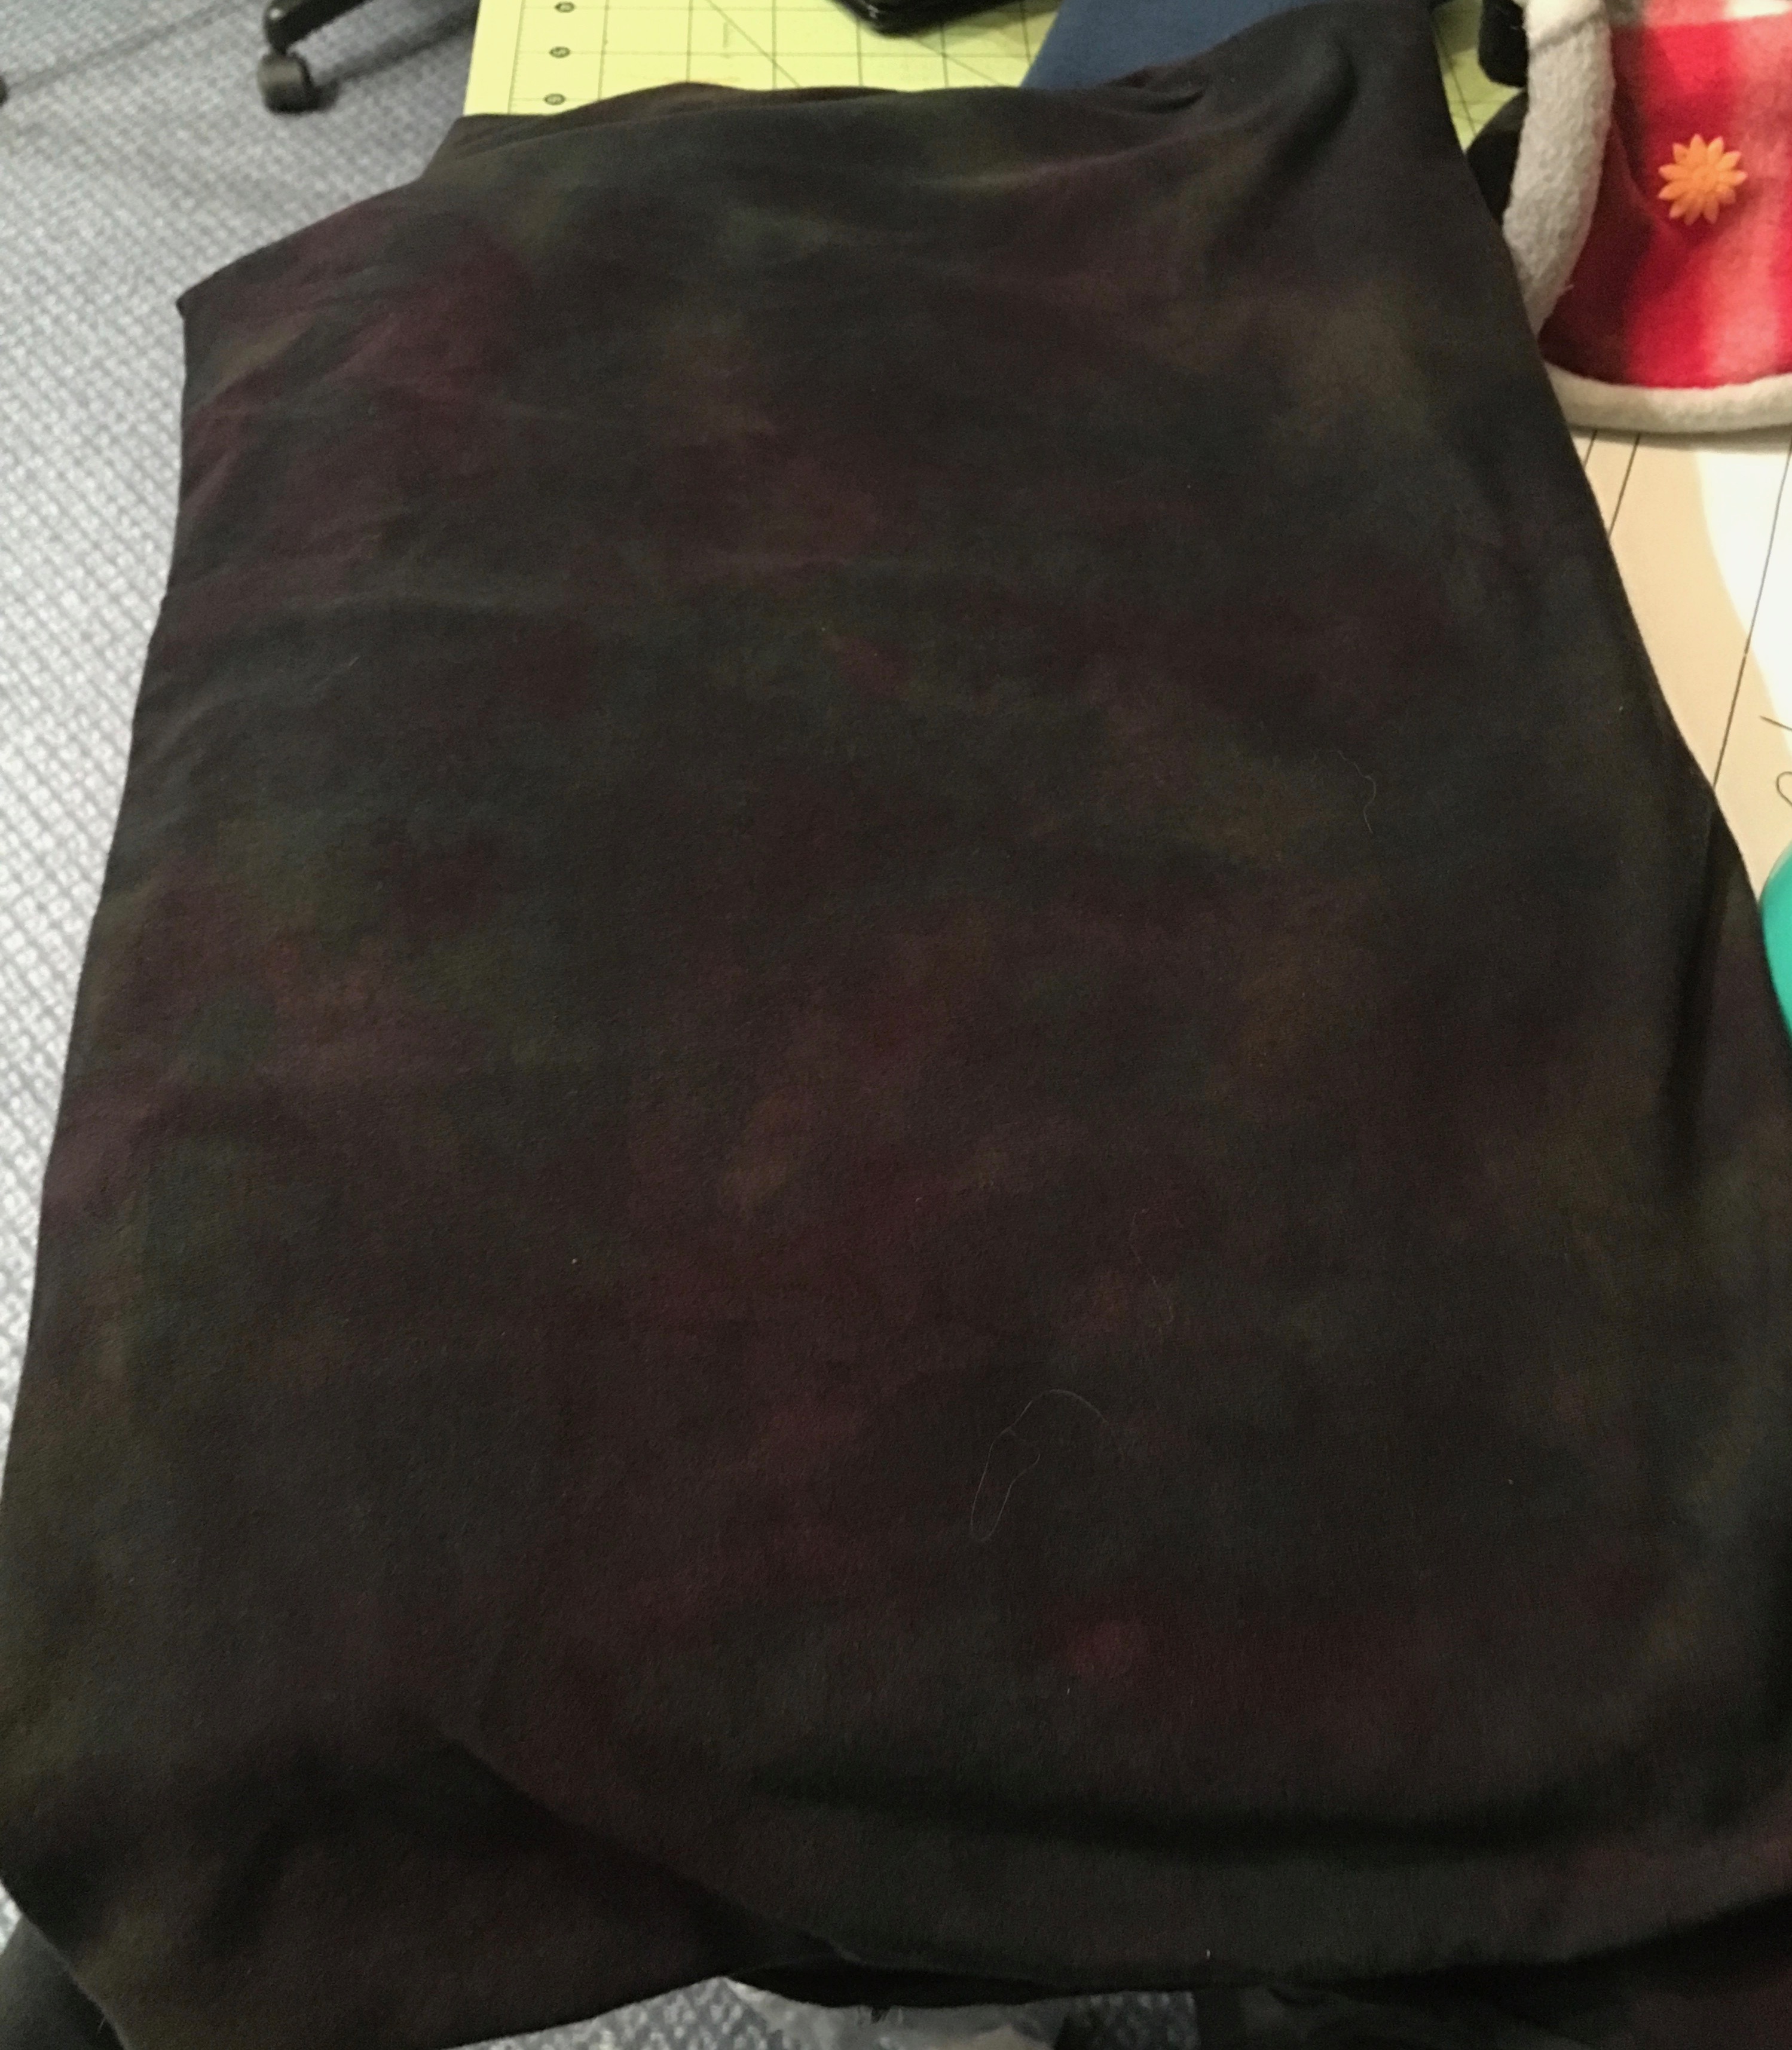
When the snow falls I get the itch to do some snow dyeing. The colors are so vibrant, the patterns fascinating and the result always a surprise.
This year I had two fabrics set aside for dyeing, though I’m sure I could find more in my stash. This a piece of brown rayon jersey I previously put in vat of spent indigo. I’m not sure what I did, but it turned out green and streaky but beautifully soft. Because the fabric had such a nice hand, it was worthy of another “dye job”. You have to admit, it looks barely salvageable.
Now, after snow dyeing, I can’t wait to use it for a t-shirt or sweater.
What are the steps for Snow Dyeing?
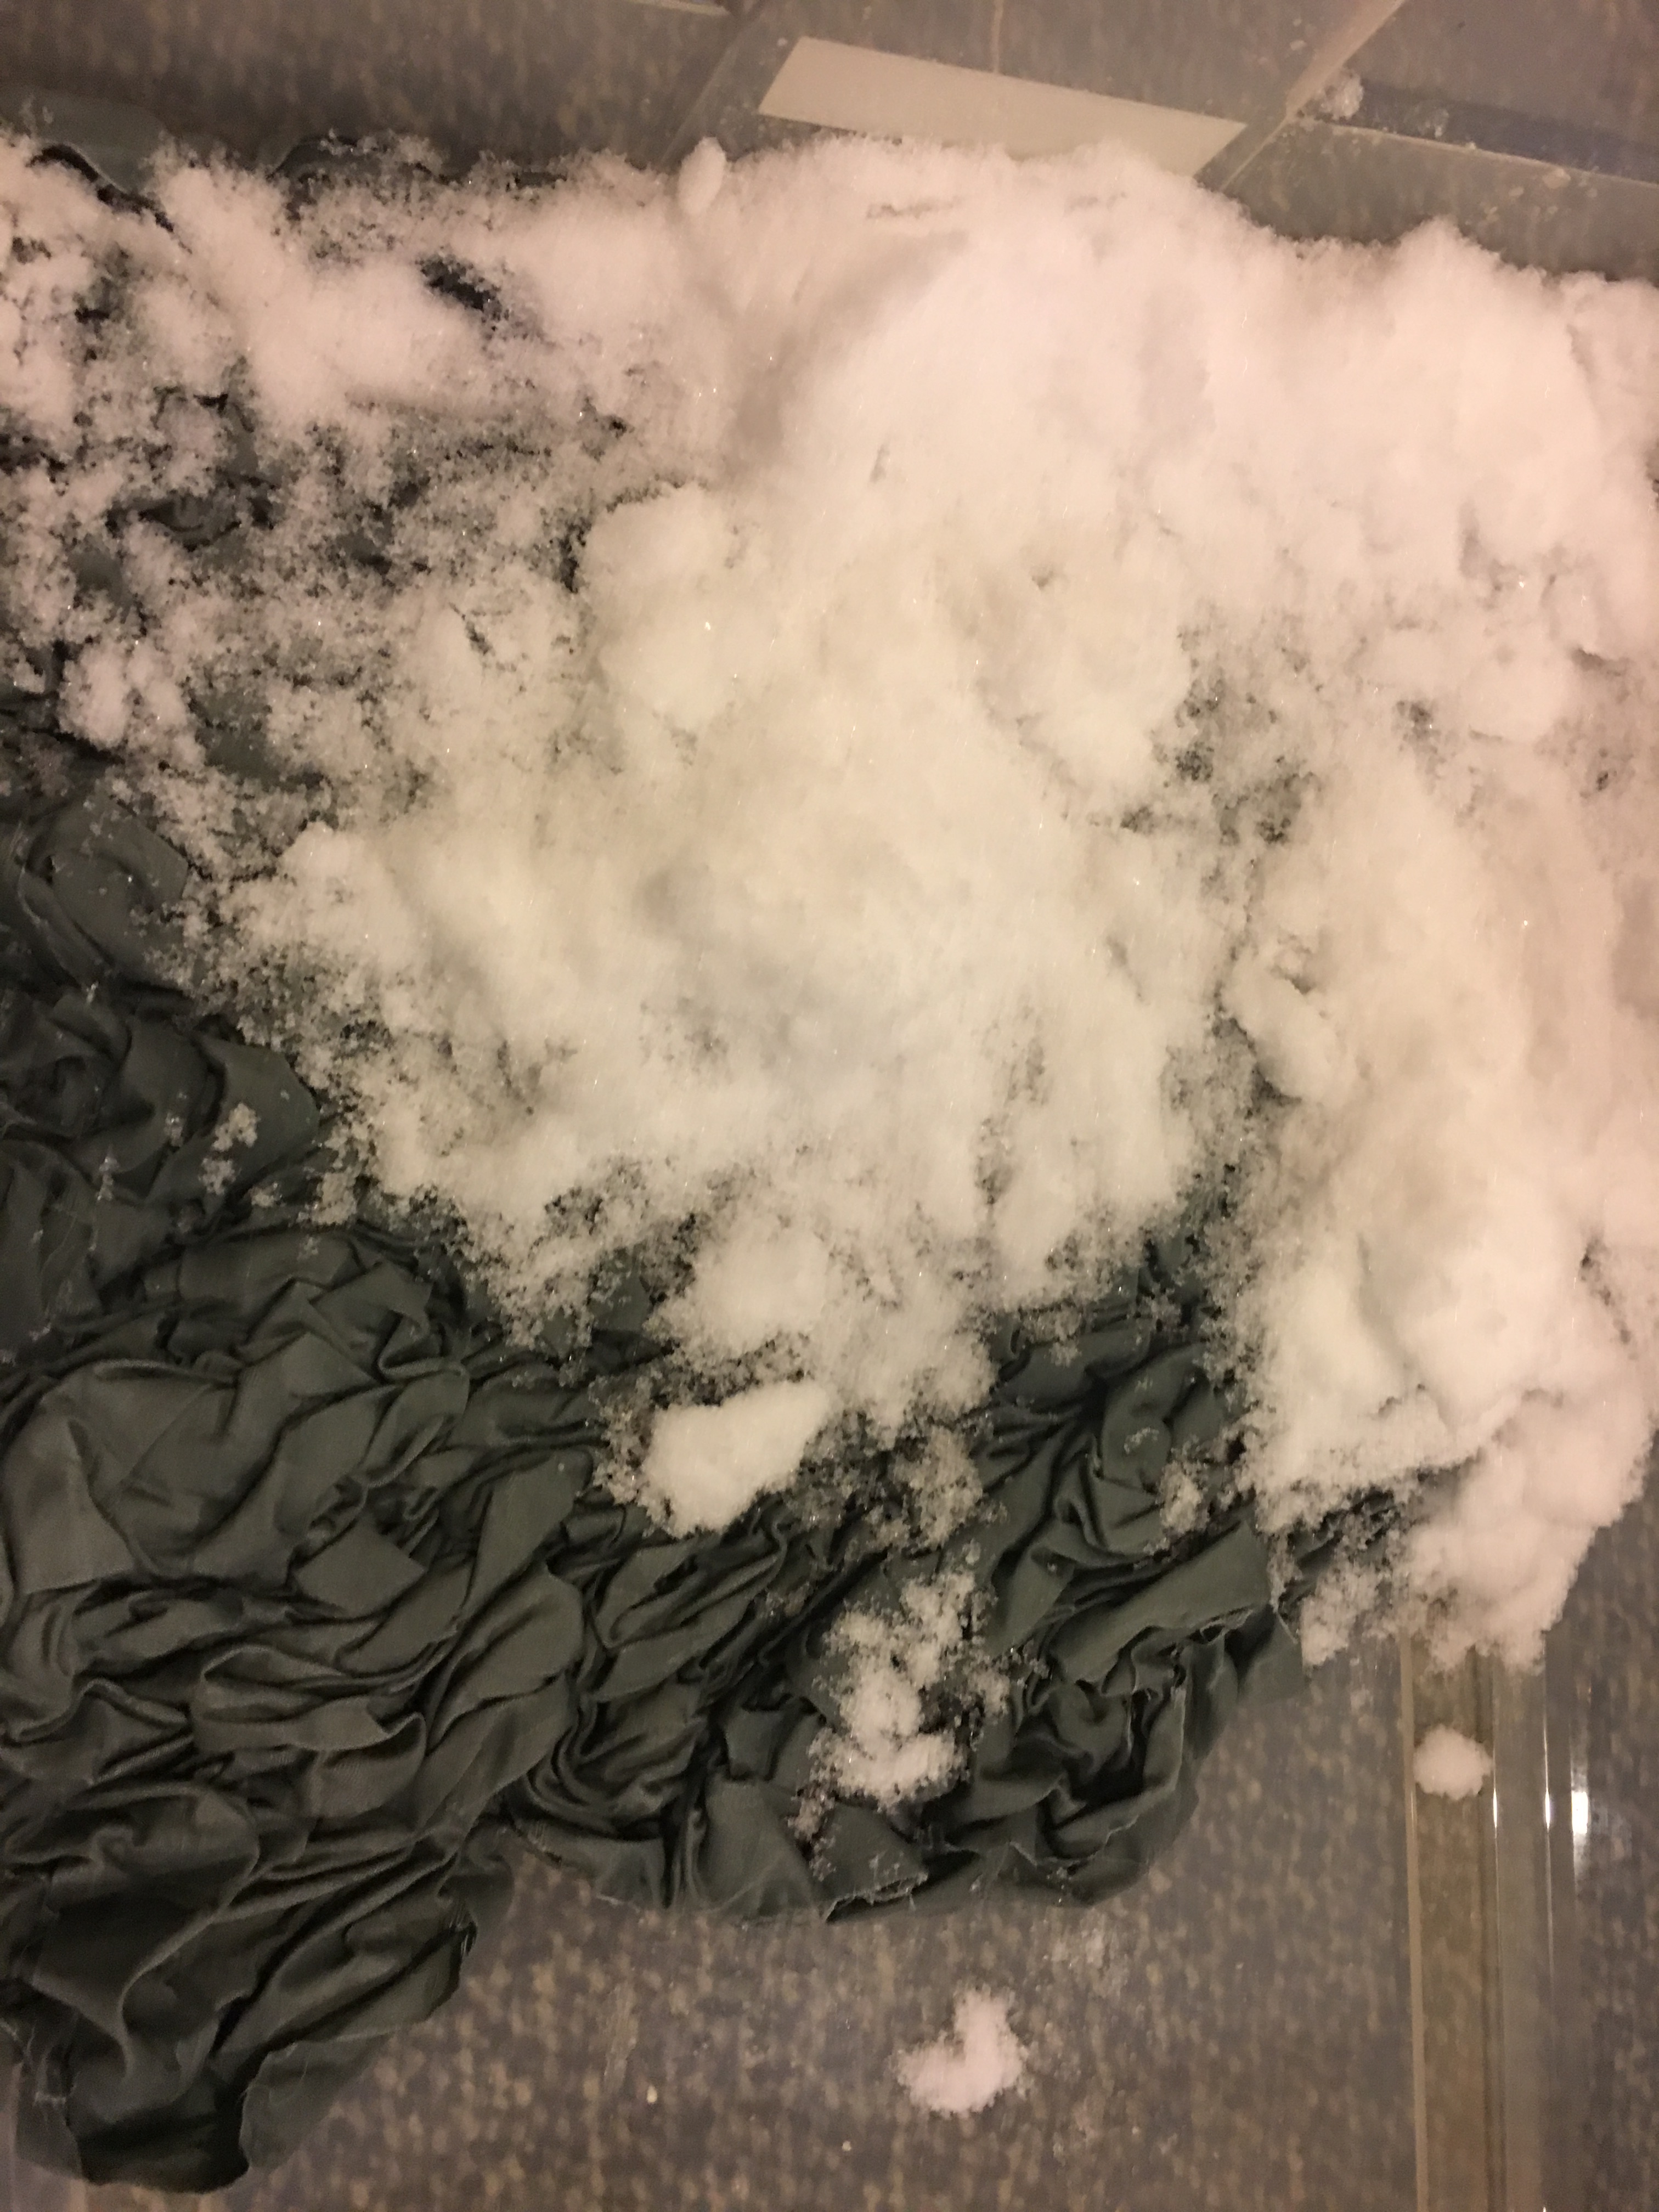
Prepare fabric as for any other dyeing project. In a plastic bin or container, scrunch the dampened fabric.
Add a layer of snow, approximately 2″ high, making sure that all of the fabric is covered.
3. After the fabric is covered with snow, begin to sprinkle with dye powder (my choice is Dharma Procion dye).
4. Use a tea or other small strainer to assist in spreading the powder evenly and to avoid clumps which would cause spotting on the fabric. Spread one color at a time, trying to have spots of dye in similar sizes. (Note: I use 3 or 4 colors).
5. Prop up one end of the bin so melted snow will drain away from the fabric.
6. Place the cover on the bin and wait 8-24 hours. Obviously, more time is better if you want deep colors.
7. Rinse and final wash the fabric as with any other dyeing project.
8. Enjoy your creation – or if it’s not to your liking, dye it again.
Several days ago we were in Bruges. Not only is it a beautiful medieval city, I learned that at one time this city was the center of the European cloth industry. An outgrowth of that industry was the art of making lace.
Unfortunately this art form is hanging on by a thread. However at the Lace Museum in Bruges There are a handful of women trying to keep lace-making alive. They have a display of exquisite pieces of lace, provide lessons and demo for visitors.
During our visit there were about 20 students from North Carolina who learned basic lace-making, and I was able to sit in with them for a one hour lesson. Wisely, their college professor/tour guide thought it would be good for this group of technology-competent students to learn traditional lace-making. All we did was a 4-thread weave, hardly lace. As with any group, some learned very quickly and others struggled. I was at the midpoint on the learning curve.
As you can see, here some photos of the gorgeous pieces in the museum, and a pix of me fumbling around trying to learn to make lace.
If like me, you’re a lover of fine fabrics, you likely are noticing that wool fabric (and other natural fabrics for that matter) gradually are leaving the fashion scene. When available, the price is outrageous but really, when is the last time you purchased a garment or piece of fabric made fro100% silk or wool?
While I can’t say I’m studying this phenomenon, naively I have assumed the declining availability of wool ready-to-wear and fabric is due to exactly that – it’s not available , as in there are fewer sheep in the world.
Then came my trip to Paris where I’m a duck out of water in my new stylish ski-type jacket. Nearly every woman in Paris wears a (fashionable) wool coat, even on a rainy winter day. Young children wear gorgeous wool coats – the kind you absolutely can’t find in the US. Admittedly these garment are far more costly than the inexpensive and poorly constructed garments we tolerate but they look soooo much better.
What’s more, going into fast fashion stores in Paris, there are tons of partial or 100% wool garments. With this new information in hand, I can only assume that we In N. America aren’t fighting for what we really want to sew with or wear. What a sad state of affairs. The next time I’m in a fabric store and pick up a piece of wool, instead of thinking about the high cost, I am going to thank the proprietor for carrying such wonderfully durable fabric. Then I’m going to purchase it.
Several weeks ago I posted about the hot pink maternity coat I sewed for my DD Megan. Of course I couldn’t wait to see what was hiding under that coat. Now we know – little Genevieve is beautiful just like her mother.
More later but I had to share a photo of our little beauty(ies).
It’s prom time and one of my dear nieces asked me to hem and alter her dress and to sew a really puffy petticoat for under the dress. Absolutely beautiful and a skirt of yards of tulle.
The first and most time consuming step was to remove and replace about half of the lace applique and bead-sequin trim. While this took time, it was straight forward. On the other hand, I knew that hemming the tulle was a once and done affair. If not done correctly the first time, removing stitches would result in damaged tulle. Here’s what the hem looked like originally – a narrow turned over hem.
As you can see, it wasn’t sewed all that well when the garment was manufactured. It was turned over twice and sewed close to the edge. Originally my plan was to repeat that process after the dress was cut to the desired length. Fate changed that plan.
On the day that I was finishing the dress alterations, one of my sewing friends came to my house to see how a serger works. One of the finishes I showed her was a rolled hem. Immediately I realized that’s what I should use for the hem. Why hadn’t I previously thought of this? The result was a beautifully finished rolled hem.
How to Serge a Rolled Hem
While this process will vary slightly by serger, the general process is the same.
1. Remove the left needle.
2. Thread the right needle and the upper and lower looper with thread that matches the fabric.
Note: Because of the limited serger thread color selection, I used one spool of regular sewing thread and wound 2 bobbins in the same color.
3. Set to a very narrow stitch width.
4. Set stitch length to a very short stitch – some sergers have rolled hem settings.
5. Disengage the cutting blade.
6. Place cut edge ~1/16″ to the right of the right needle. This part will turn under and will disappear into the rolled hem
7. Sew a sample one the fabric you’re hemming.
Note: The fabric should not pull or ruffle the edge.
8. Adjust tension as needed.
Note: This is the part that varies by machine so it’s difficult to provide specific directions.
The result is an amazingly beautiful hem and it takes only minutes to complete. I was so thankful that I remembered to use this finishing method, which would work equally well for chiffon, crepe or many other fabrics.
Settings for a Baby Lock Evolve (or similar serger)
Remove left or Overlock 1 needle
Disengage cutting knife
Stitch width 3.5
Stitch Length 1.5R (Rolled hem setting)
Stitch Selector – D
Upper Looper Selector – Up position
Tension – no settings as this is automatic on an Evolve
Altering a wedding dress isn’t something I do regularly, but I’ve muttled through on several wedding or formal dresses. So in case you’re tackling this project, I’d like to share some “how to’s”. Of note, these same directions are applicable to any formal dress or bridesmaid dress.
Recently when I altered EB’s wedding dress, I needed to find 3″ of extra circumference in for a well-fitted dress. While that seemed like a lot of fabric gain, it was very manageable and yet it was nearly the maximum alteration I could get without adding additional fabric to the sides (not an option for this dress because of the pleating). Yes, and then there were the leftover stitching marks – how were they eliminated?
Here are the steps I went through to get this lovely result.
Great dress
Altering the sides of a wedding or formal dress that’s too small:
1. Start by taking a peak at the side seam and zipper allowances, which for most dresses is where you’ll find the extra fabric. (This dress had 1″ side seam allowances and 3/4″ seams for the back zipper).
2. Establish the amount of additional fabric needed in order for the dress to fit. (3″ for this alteration). Do this by measuring the gap at the zipper. In other words, with the zipper open, use a seam gauge to measure the exact amount of space between the zipper teeth. This is the moment of truth and it’s basic math. If the amount you need to alter (i.e. let out) is more than what is available in the seams, it’s likely not possible to do this alteration.
3. Determine how much can be obtained from the side seams. (I could steal 2-1/2″ from the side seams and 1/2″ from the zipper).
4. Carefully remove the side seam stitches from the outer layer and the lining of the dress – all the way from top to bottom or for the area where the alteration is needed. This means “cut”, not “rip” the seam as ripping can increase the size of the thread hole. Sometimes this can include the seams of the skirt. If the seams aren’t finished or are susceptible to fraying, you may want to finish the edges before manipulating the fabric.
5. Sew the dress and lining seam back together. ( I was lucky here – the dress and the lining had a thick fusible lining which made the seams very stable and there was no fraying).
Old seam-line and new seam close to the edge.
6. From the inside, press the seams open. A sleeve board or clapper covered with silk organza works well for this step.
That’s it for sewing the side seams. While it seems easy, manipulating such a large amount of fabric is what takes the most time.
Altering the zipper or (usually the back) of a wedding or formal dress that’s too small:
1. Remove the old zipper.
2. Press out the old seamline.
3. Re-sew the zipper – you may wish to use a new zipper just in case. My preferred method is to hand-pick the zipper. The look is beautiful and for my level of experience it’s easier than machine sewing a replacement zipper when you’re trying to handle yards of fabric. (I was able to get an additional 1/2″ of the required alteration from the zipper. Also, I modified the zipper from a lapped to a centered zipper placement).
Pressing the alterations – and removing those pesky stitch marks which are tiny holes in the fabric.
Admittedly, this is the most difficult part of the process. Here are some tips to help you:
Use a good pressing cloth such as silk organza.
Use lots of steam.
Place a sleeve board or clapper under the seam while pressing.
While pressing, apply pressure from the edge of the iron directly on the old stitch-line.
If you aren’t getting the desired result and you think it will never look good, dab a small amount of diluted vinegar (1:1 with water) on the original seam or the stitch line. Brush lightly with a new toothbrush to reduce the size of the stitch marks and then press the fabric, again using a pressing cloth.