This Grainline Studios Morris Blazer had a previous life as a twin bedsheet that was made from a twill jacquard Egyptian cotton. Unfortunately the previous owner had a bleach accident and donated the sheet to St. Vinnie’s. I found it in a bin for $.50 and was enamored by the quality and weight of the cotton and by the lovely jacquard design. Hence it came home with me. I removed the elastic and casing and it lived on my “to be dyed” pile for a while. Here is the orphan sheet:

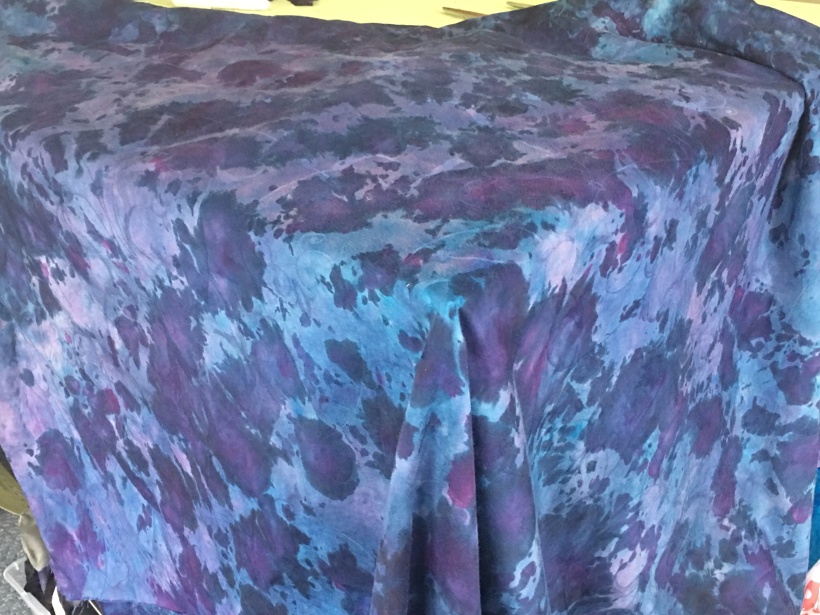
Snow dyeing:
This winter when I was snow dyeing a few items, the sheet received it’s new life. Actually I snow dyed it twice as the first time it turned out too light for my taste, but the second time it came out beautifully. Here’s the link to the first dyeing and one more for the second dyeing.
The Dreaded Muslin:
Most often I don’t make a muslin but because this pattern is intended for stretch woven fabric I used a worn-thin bedsheet to make one and it was worth the effort. Based on this sample I made a narrow back adjustment, my usual sway back adjustment and added a French dart in the front along a fairly large wrinkle line. In the end I probably should have made a size larger as the dyed fabric had minimal “give” whereas the muslin was fairly lightweight and not very stable; a case of over-fitting. As mentioned in some patten reviews, I also scooped out the armhole about 1/2″. Last of all I lengthened the jacket 1.5 inches which is uncommon for me, a height-challenged person.


Jacket Construction:
After the fairly easy jacket construction, I added 1/8″ of uncorded piping to the edge. The inside seams have a Hong Kong finish, made from the lining of a prom dress. Because of the weight of the fabric, I did not use a interfacing, which turned out fine for this jacket.

Pattern Description:
The Grainline Studios Morris Blazer is: “… a mixture of drape and structure, bracelet length sleeves, and a gentle shawl collar, it looks great dressed up or down. It sews up well in fabrics with stretch making it comfortable for everyday wear.”


In Summary:
This was a really fun project. If you’ve never tried snow-dying or ice-dyeing, it’s really quite easy and fun as you’re always surprised by the outcome. And it’s a great example of how you can find great fabric in a variety of ways.