Lesson #8 (and final): Crossbody Travel Bag Tutorial

Bag Assembly

This is the last major step in making your crossbody bag and in some ways it’s the most difficult as you’re working with bulky pieces that aren’t flat. Here are the steps:

  • Starting at the top, pin or clip the gusset to the bag front matching point #1 with the seam at the top of the bag. Then work your way downward on the zipper placket and the gusset. Stop when you get within 2″ of point #3.
Ready to sew the gusset/zipper placket to the bag
  • Sew the pinned or clipped seam, starting and stopping 2″ from point #3.
  • Repeat this process for joining the gusset to the back of the bag, but for now, do not sew the zipper to the bag back.

Bottom Strap and Final Seam:

  • Identify the point where the gusset needs to meet the zipper placket and mark clearly.  Note: Because I’m not a professional pattern maker, I wasn’t sure I’d get this correct so I made the zipper placket and the gusset extra long.
  • Slip the doubled over 3” piece of strapping (with the rectangular ring in place) into the seam
Markings to indicate where gusset meets the zipper assembly
  • Sew through all layers, attaching the bottom of the strap.
  • Cut off any extra fabric to leave a ½” seam.
Bottom of bag whe
  • Now sew the remaining seams so the gusset and zipper placket are completely installed.
  • After both seams are sewn, check for any places where you might not have caught the lining or the outer fabric.

Seam Finishing

  • The seam finish I prefer is to fold 1″ Petersham over the seam and sew it with a zig-zag stitch. Or a double folded bias binding would work however it doesn’t wear as well.
Sewing a petersham wrap for a seam finish
Finished bag (inside)

Finished Bag
Congratulations on your completed bag!

Lesson #7: Crossbody Travel Bag Tutorial

Zipper Placket and Attaching Straps

Zipper Placket

  • If not already done, cut the side strips to which the zipper is sewn. From each the outer fabric and the lining fabric, cut 2 strips 2-¼ x 17”.
  • With the lining sandwiched to the outer fabric, zig-zag or serge the side of the strip that will be sewn to the zipper.
  • Turn under ½” on the side of the strip where the zipper will be sewn.
  • By using a topstitch, stitch one zipper strip to each side of the bag zipper.
Zipper is topstitched to one side of the zipper
  • You now have a placket that is approximately 3-¼” wide, depending on zipper size, etc.  If the placket is wider than 3-¼”, trim to this width.

Preparing the Strap.

  • To prepare the strap, cut strap to desired total length, including the length needed for an adjustable strap.  My total is 42″, which allows the bag to hang across my body in front of me.  For reference, I am 5’2”, so if you’re taller, you may need more length.
  • Heat seal each end of the strap before working with it, or it will unravel like crazy. Placing the cut edge near a candle or lighter flame provides a nice seal.
  • Pull bottom of the strap through the rectangular ring and fold back to the slide.
  • Secure strap by folding back and sewing the strap over the middle bar of the slide.
Strap assembly
  • Cut a 4-5″ piece of strapping for bottom insertion point.
  • Seal edges and pull through the rectangular ring.
  • Clip the folded strapping to await a further step (next lesson)
  • Of note, the only preparation for the strap top is to seal the cut end.

Attaching the Strap: Top of Bag

  • At what will be the top of the bag and as shown in the following photos, insert the strap between the placket and gusset.
  • Pin or clip in place.
  • Using a ½” seam, sew the seam which includes the zipper placket, top of strap and upper end of the gusset. Leave approximately a 1” tail inside the bag (you’ll use this to attach a D-ring).
Gusset top attached to top of zipper placket with strap sandwiched between the two.
Inside view with D-ring attached.
  • Pull a small scrap of 1″ strapping through the D-ring.
  • Sew the D-ring strap to the bag strap. This D-ring is great for hanging hand sanitizer, a compass or other small items.

You probably think the next step is to attach the bottom of the strap however we have a few steps before tackling that. Stay tuned as in the next lesson you’ll finally assemble the bag. At this point you may have thought I’d never get to that step but it’s coming!

Lesson #6: Crossbody Travel Bag Tutorial

Gusset Assembly

  • From lining fabric, cut one gusset upper and one lower gusset, each the same size as the outer fabric gusset pieces you cut in Lesson #1.
  • Pin or clip each lining piece to the corresponding outer fabric as you’ll sew the lining and outer fabric as if it’s a single piece of fabric.
  • For the water bottle or umbrella holder, cut a piece of stretch mesh 9” long and 5” wide.
  • Finish top of mesh with fold-over elastic or ½” elastic. Secure with a zig-zag stitch. Either piece of elastic needs to be slightly (maybe ½-¾”) shorter than the width of the pocket.
  • Baste or clip mesh to the bottom of the upper gusset.
  • Sew the bottom of the upper gusset to the upper seam on the lower gusset.
  • On my bag, I overlaid a piece of lightweight leather to the bottom of the bag. This is certainly not necessary and I’m not sure I’d do it the next time however I’m mentioning it because you’ll see it in future photos.
Upper gusset with umbrella pocket clipped and then sewed to the lower gusset.

Inside Gusset Pocket (optional)

If you’d like a similar pocket on the inside, you can fashion it from a similar sized piece of stretch mesh, however make it about 6″ high. I placed mine higher than the outer pocket so the inside and outside pocket don’t compete for space when both are being used.

Pocket inside the gusset
Complete Gusset

Of note, this gusset will extend from the top and bottom point where the strap is attached to the bag. In the next lesson you’ll create the zipper assemby which will attach to the top and bottom of this assembled gusset.

Lesson #5: Crossbody Travel Bag

Back Lining Construction

Just as you did with the front, there is a lining which needs to be constructed separately from the outside fabric.

If not already done, using the master pattern, cut 1 from lining fabric.

Patch pocket (for the top half of lining):

Just as with the front lining patch pocket,  cut a 3 x 5 piece of lining fabric and create a patch pocket by folding under edges and topstitching it to the lining. This pocket has a similar purpose to the one on the front lining. It is handy for a key card, a pack of gum or other small items, and it assures that all contents don’t drop to the bottom of the bag.

Back lining pockets

Lower Pocket:

  • Draft a pocket of your choice.  As you can see, my preference is to make a spacious pocket with elastic at the top and mitered corners at the bottom. This is perfect for my Kindle. It goes almost from edge to edge. I could have placed this lower but didn’t realize this until the bag was assembled. There’s always next time!
  • Also you can see that and a narrow slit pocket or two for a pen.

Back Assembly:

As you did with the front, place wrong sides of the back outside and back lining together. Baste close to the edges and match with the master pattern and trim any errant edges. You are now ready to insert the zipper and create the gusset, which will be covered in the next lesson.

Lesson #4: Crossbody Travel Bag

Outside Back Construction

In this lesson, you will complete the outside back of the bag. That is, the part that lays against your body when wearing the bag over your left shoulder.

If not already done, Using the master pattern, cut 1 piece from the outer fabric, remembering that this piece needs to be a mirror image of the outer front.

First you will create a passport pocket and then you’ll add a lower pocket. When completed the outer back will look like this:

Outer Back of Bag with passport pocket and lower pocket

Passport pocket:

  • Toward the top and parallel to the bag opening, insert a 6” zipper using the window method. The zipper needs to be at least ¾” from the edge to allow for the seam allowance plus a little more space.
  • To make the window cut a 1-½ x 7-½” facing from the bag fabric. Depending on your fabric type, you may wish to use iron-on interfacing and/or zig-zag or serge the edges of the facing.
Facing is ready to be sewn to to bag.
  • Sew the facing to the bag, creating a window about ⅝” wide.
  • Turn the facing to the wrong side, clip corners and press.
  • Insert zipper by top-stitching around the edges of the window.
  • Behind the zipper and on the wrong side of the outer fabric, top-stitch a piece of lining to create a compartment for your passport.  This keeps your passport secure and close to your heart!
  • Tip: Double-check to make sure the pocket is large enough for your most recent passport.

Back Lower pocket:

  • This pocket is handy for holding boarding passes, or recently, a supply of face masks. You’ll find a use for it.
  • From outer fabric and using the bag front bottom pattern piece #3, cut 1 pocket.
  • Finish the top by creating a small band or simply turning over the edge.
  • Baste to edges of outer back piece.
  • If you’d like, install magnetic snap toward the center top of the pocket. To add durability you may wish to add another layer of fabric under the snap.
  • As before, match up the outer back to the master pattern to make sure it’s the same size as the master.

You now have the back outside finished and are ready for the next lesson, where you’ll make the back lining. You’re more than half-way at this point.

Lesson #3: Crossbody Travel Bag

Front Lining Construction:

Now that the outer front is completed, you’ll need to use the master pattern to cut a lining piece to be a partner to the outer piece. 

Patch pocket (for the top half of lining):

Cut a 3 x 5 piece from the lining fabric and create a patch pocket by folding edges under and topstitching it to the lining.

 I use this pocket for my credit card wallet or similar so if you have a different purpose for this pocket, you may wish to size it differently.  Because it’s in the top section of the lining, it helps to assure that the majority of contents of your bag don’t land in the bottom of the bag.

Close-up of upper patch pocket.
Positioning of patch pocket is more visible here.

Large zippered compartment (bottom half of front lining): 

For the lower zippered pocket, cut 2 pieces, using the bag front bottom front pattern piece #3. 

  • Trim ½ ” from the top of the pocket pieces (the purpose of doing this is so all pocket seams don’t stack on top of each other at the edges.
  • Sew a zipper to the top of the 2 pocket pieces. There’s no magic here, just stitch the zipper in any way you choose.
  • Clip or pin the pocket to the front lining piece. In doing so you’ll create two lower pockets, one zippered and one behind it with an open top.
  • The front lining is now complete

Front Assembly:

  • Place the front lining and front outer piece together with wrong sides together. 
  • Baste all layers close to the edge and trim any errant edges which don’t line up.
  • Set aside the front section and feel proud of your work.
  • My apologies but I missed taking a photo of this step however the photo above shows the completed lining.

Next up you’ll make the outer back piece.

Lesson #2 Crossbody Travel Bag

Front Construction and Assembly:

  • For this process, you will use the outer fabric cut from pattern pieces B, C and D .
  • If not already done, cut the top, middle and bottom pattern pieces from outer fabric.
  • From the stabilizer, also cut the 3 front pattern pieces. 
  • Trim away ½” from the seam allowance on the horizontal seams and ⅜” around the edges.  (If thick stabilizer extends to the edges, the final seams will be too thick to sew with most sewing machines as the seams will be too bulky).
  • Using any method you choose, quilt the outer fabric to the stabilizer. I chose straight lines spaced 1-¼” apart.
Bag Front is Quilted to Heavy Interfacing Before Sewing Zippers
  • Turn under ½” on the horizontal zipper seams and press.
  • Attach the front zippers by top-stitching close to the fold line. Note: Insert the zippers before cutting the excess zipper length.
  • After cutting the zipper to size, remember to tack the end of the zipper so the pull doesn’t slide off. If so, you might not be able to replace the pull. Ask me how I know this!
  • When both zippers are sewn, press. Depending on your fabric and zipper installation method, the assembled front outer piece may be larger than the master pattern.  Lay the master pattern on top and if needed, trim edges to match the master pattern. 
White Fabric is the Master Pattern. After zipper placement, the front is slightly larger than the Master Pattern, so the edges were trimmed.

Front Pocket Bags:

  • Bag/pocket for bottom zipper:  From lining fabric, cut 1 bottom front pattern piece.  Match the edges and pin or clip in place. Note: The bag lining will form the second side of this pocket bag..
  • Turn under and press at the top seam line, then sew lining piece to bottom zipper tape, creating a second line of sewing.
Top edge of pocket bag is turned under and sewn to bottom zipper tape, creating a second row of topstitching on the zipper.
  • Trim any edges which don’t line up with the outer front piece.
  • Bag/pocket for upper zipper:  This pocket bag is shorter and can be used for small items such as lip balm, nail file, key cards, etc.  Cut two pieces of lining the width of the bag and 3-4” deep (alternatively this could be a single piece of fabric – I just used some scraps which were not large enough to make the pocket bag from a single piece of fabric). 
  • Attach to the top lip of the zipper by topstitching a second line of stitching to the zipper.
  • Similarly, attach the bottom of the bag to the bottom zipper tape by top-stitching a second line of stitching on the front of the zipper.
  • Attach the top of the bag to the upper zipper tape.
  • Sew the bottom to close the bag.
Close-up of the 2 zippers after the bags are attached
  • Again, match up to the master pattern and trim any edges that hang over the sides of the outer front.
  • You now have completed the front outer section of the Crossbody Travel Bag. Set it aside and feel proud of your work.

Next up, you’ll sew the front lining, so watch for that post.

Lesson #1 Crossbody Travel Bag

Download the Pattern

This is where the disclaimer comes in.  Since I’m not a pattern maker and being one is not a life dream, you’re a victim of my choice to offer the pattern but in the easiest possible way.. You’re lucky I can create a pdf!  If you’re experienced at making bags, some of this will come naturally and in fact you’ll probably be skilled in methods I haven’t even imagined.  On the other hand, if you’re newer at sewing bags or if you work best with a fully developed pattern, this project might not be for you. Or possibly you’d like to use some scrap fabric and make a muslin to see if it works for you. That’s how I started out, and when making the final version I used it for one trip, decided on changes I wanted and then harvested the zippers and strap from the muslin, re-using them in the final version.

Above is a file with a master pattern (piece A) and the 3 Front Pattern Pieces (B, C and D) from which many of the pieces will be cut.  For other pieces such as the gusset, the zipper placket and some of the pockets, measurements will be provided as we go along.

Print the master pattern and tape the 3 parts together to form the master.  You’ll use this over and again.  

The pattern contains 3 important markings, which correspond to key parts of the gusset.

  • #1 is the point at which the gusset meets the zipper placket and where the strap is attached at the top of the bag.
  • #2 is the point where the bottom of the water bottle carrier is attached.
  • #3 is the point where the base of the bag meets the zipper placket and the strap is attached at the bottom of the bag.
Seam Allowance:  generous ¼” unless stated otherwise.

Cutting the Outer Fabric:

  • Front:  cut one each of upper front, middle front and bottom front pattern pieces. Grainlines are not marked on the pattern however you’ll want to have the grain running vertically. (Wouldn’t you think I’d have remembered to mark the grainline? Oops!)
  • Back: cut one from master pattern, remembering that the back must mirror the front fabric.
  • Zipper strips: Cut 2 pieces 2-¼ x 17” from outer fabric.
  • Gusset: Using the following guide, cut the 2 pieces.

Obviously there will be many more pieces to cut, for which you’ll receive the instructions as we proceed.

The next time we’ll start to sew the bag front, so you’ll need 2 zippers and also, have your lining ready as we’ll cut and sew the front lining. In the mean time, if you have questions, leave them in the comments below.

Until next time……

Crossbody Travel Bag Tutorial

The Perfect Travel Bag

Four years ago I put up this post where I described what I called “the perfect travel bag” as I was able to customize it to meet my personal needs. The Perfect Travel Bag . Following that post, some readers asked if I could share the pattern. I said I could but was unable to do so until I made a new bag and documented the process. Sol the photo above is my newest version, with very few changes since the last one, which was so well used that the fabric was fraying in some areas. I’m pleased to tell you that the new bag passed the test. We just returned from 2 weeks of international travel and for me, this bag is near perfection. At a later date I can tell you about some suggested improvements.

My Bag at Work

In the meantime, if you wish to follow along with the tutorial, here’s the list of items you’ll need in order to sew the bag, which has a finished height of 17″ and is 9″ wide.

Supplies:

  • Approximately 1 yard of sturdy fabric, light to medium weight home decorating fabric, canvas or similar.  Avoid heavy upholstery or loosely woven fabrics.
  • ½ yd fusible fleece or stabilizer to add body to the front of the bag.
  • 1 yard of poly or nylon lining fabric such as rip-stop.  Grey is best for visibility.  I used scrap pieces of Silkara, purchased from Seattle Fabrics for another project.
  • 6 x 8” piece of leather or faux leather (optional for the base of the bag)
  • 18 x 18” piece of stretch mesh for the water bottle and umbrella carriers.
  • 18” zipper closed end or jacket zipper.  My preference is a #5 however this is a personal choice.
  • 4 dress zippers, 12” length.
  • 15” piece of elastic or fold-over elastic for the top of the bottle and umbrella carriers
  • 2 yards Petersham or bias binding to encase the internal seams
  • 1-½ yards of 1-½” wide strapping 
  • 1 slide and 1 rectangular ring for the strap.  Both must be the width of the strap. I purchased them from Emmaline Bags.
  • 1 D-ring any size
  • 1 or 2 small swivel hooks and ribbon or ties to secure to the interior of the bag.
  • Magnetic snap or metal snap.

This should be enough to get you started. Stay tuned for the pattern, instructions and many photos. If you have any questions, leave a comment below.

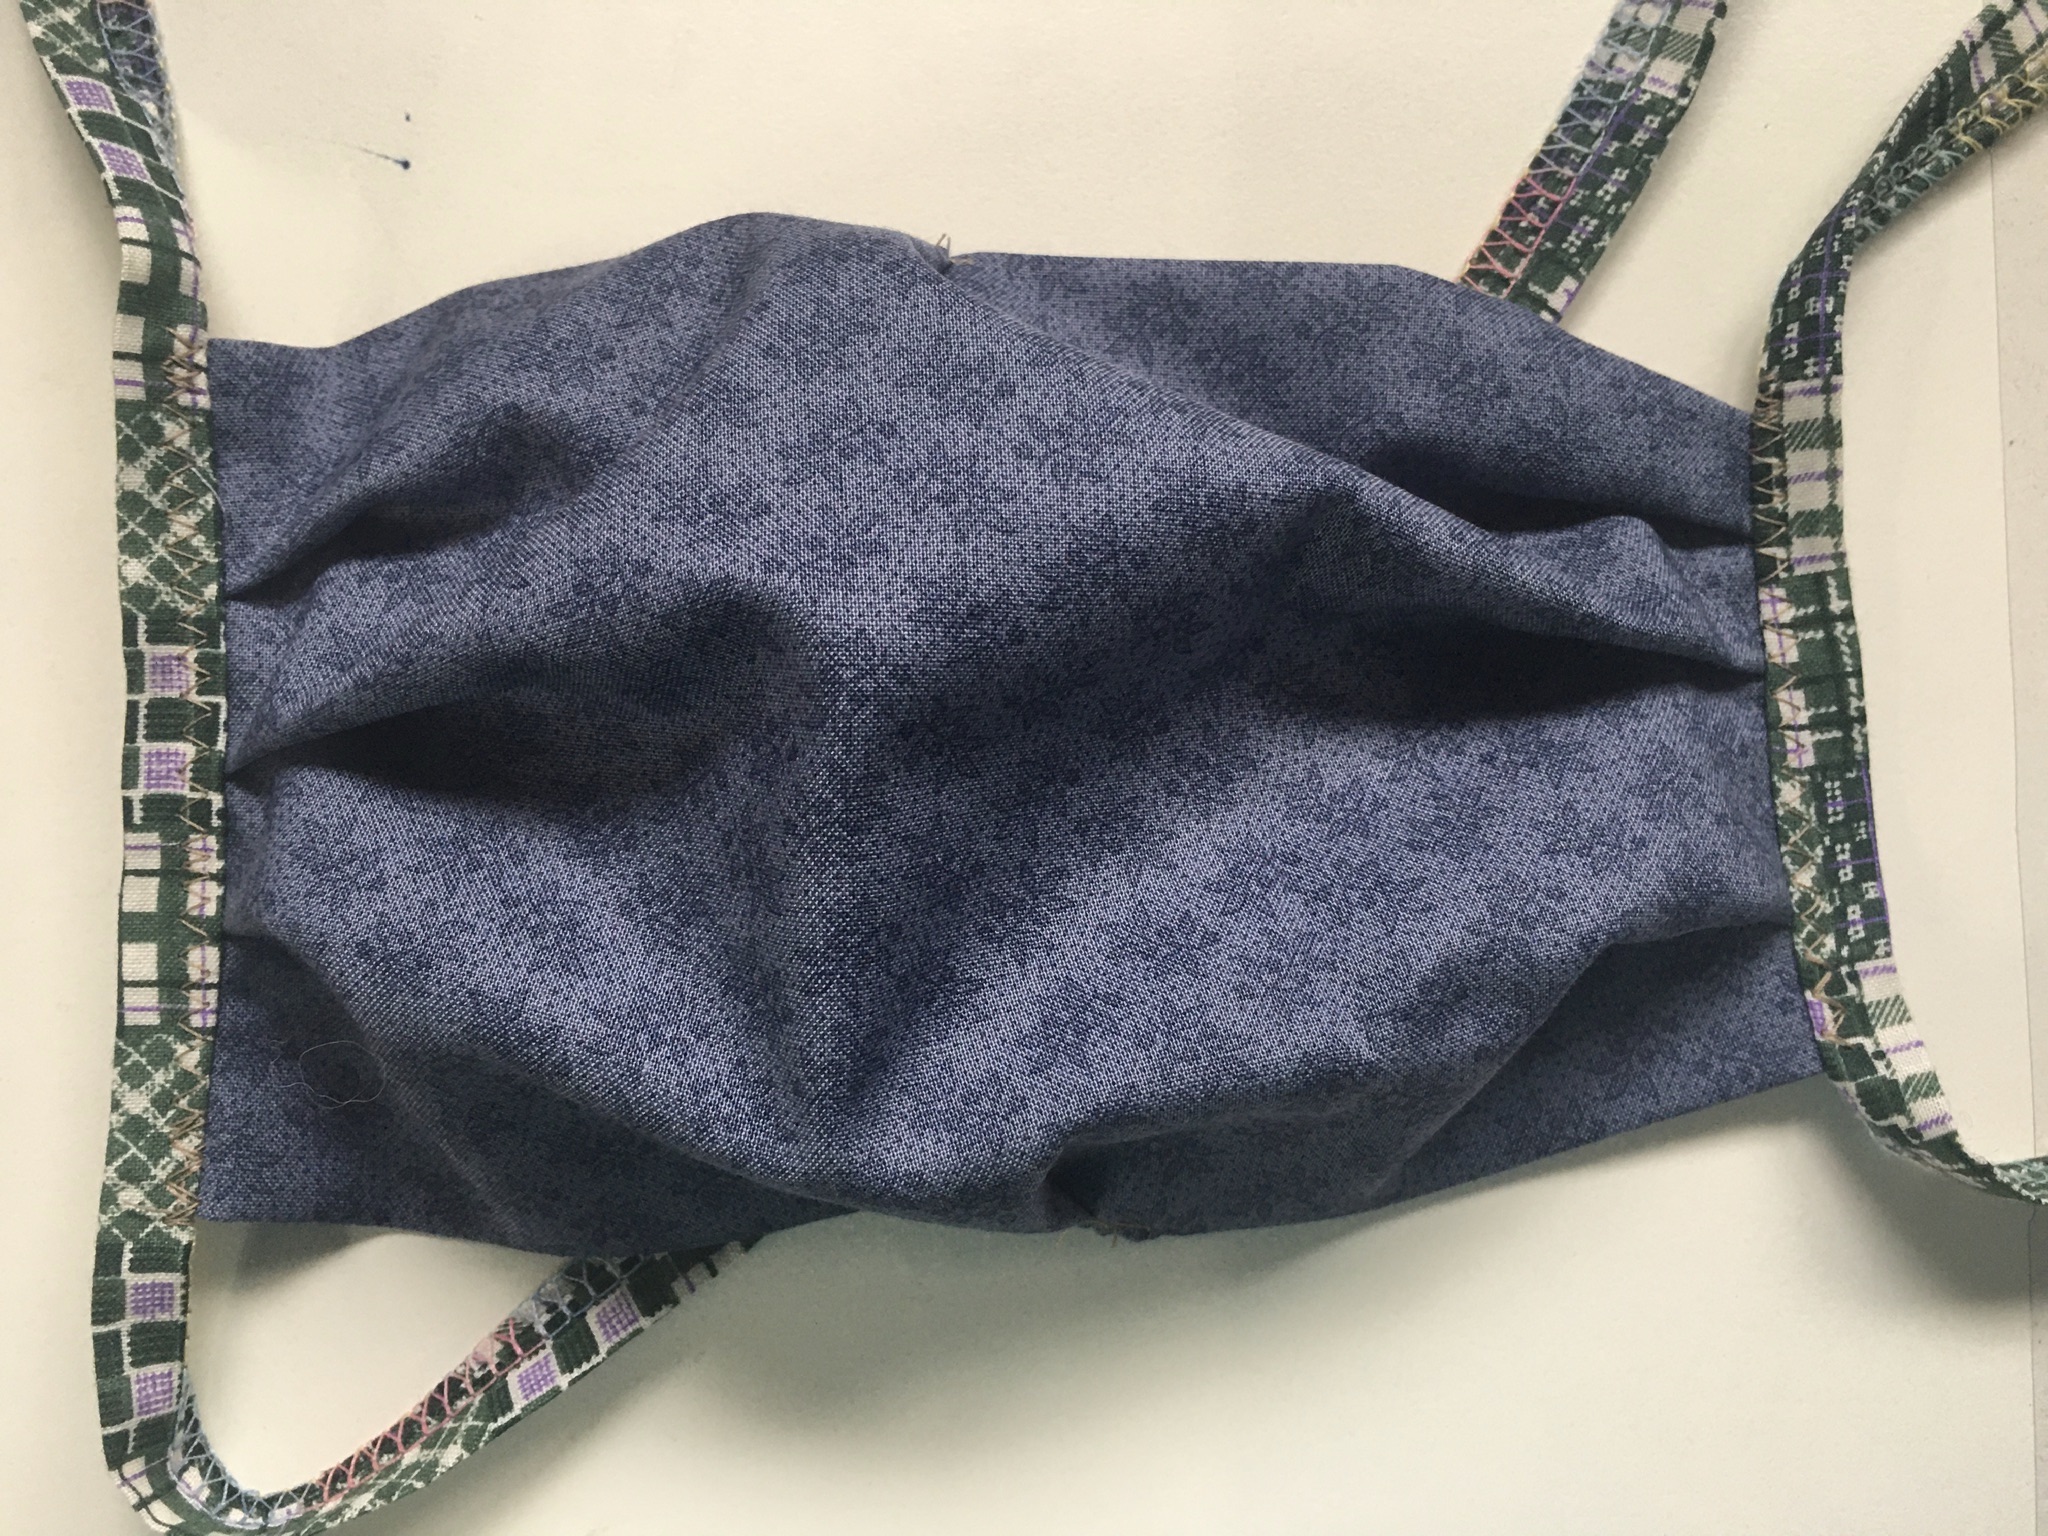
Quick and Easy Medical Mask

IMG_7544.jpeg

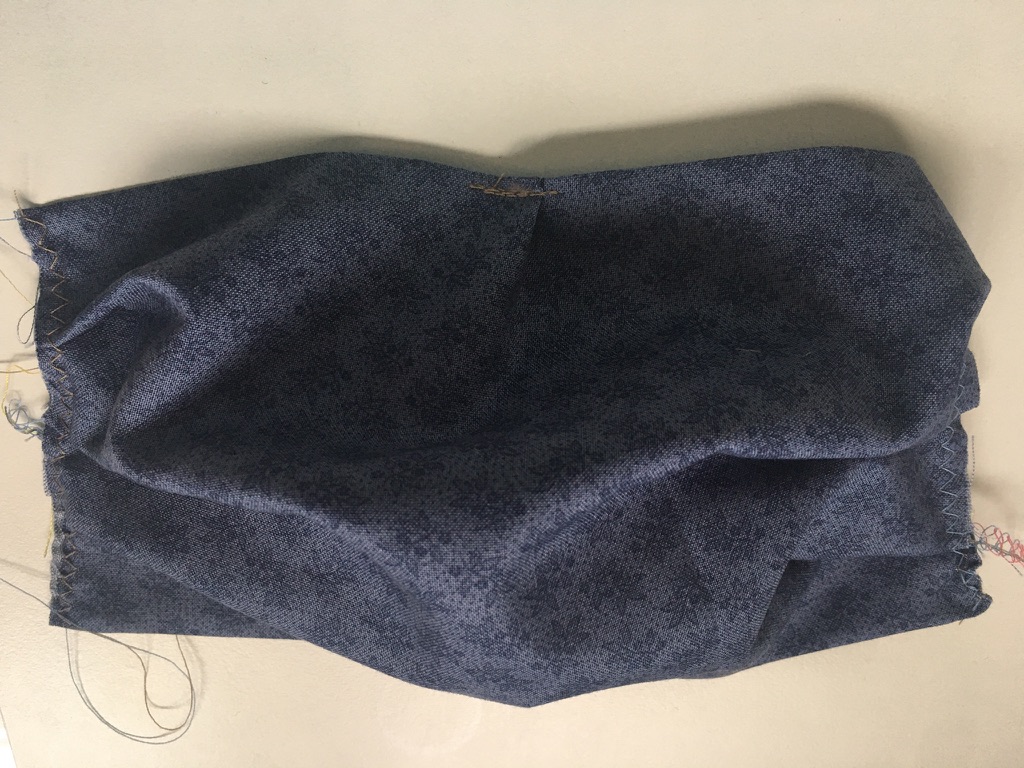
IMG_7545.jpeg

With Coronavirus raging, and all of us fighting to prevent from being a victim of the illness, there are dozens of surgical or medical mask patterns which can be constructed from fabric.   Some are fitted, some are pleated and some are designed to insert a filter.  In addition, some have ties and some use elastic for behind the ears.

Over the past several weeks, I’ve used 4 or 5 patterns and have made dozens of masks for family members, friends and to donate to healthcare institutions.  Depending on which style, they take from 15-60″ per mask.  Also, most are machine sewn,  While paper masks are appropriately being used to address the healthcare shortage, there is a need for quick and easy masks that can be sewn with a sewing machine or hand-sewn with needle and thread.  This mask construction takes about 15″, especially after sewing a few.

Details:

  • Made from a single piece of fabric plus the ties.
  • Ties can be made from fabric, ribbon, shoe laces, twill tape or whatever you can find in the house.
  • Fits over the nose and chin without needing to find the correct type of product to use for a nose wire.
  • Can be hand-sewn or machine sewn.
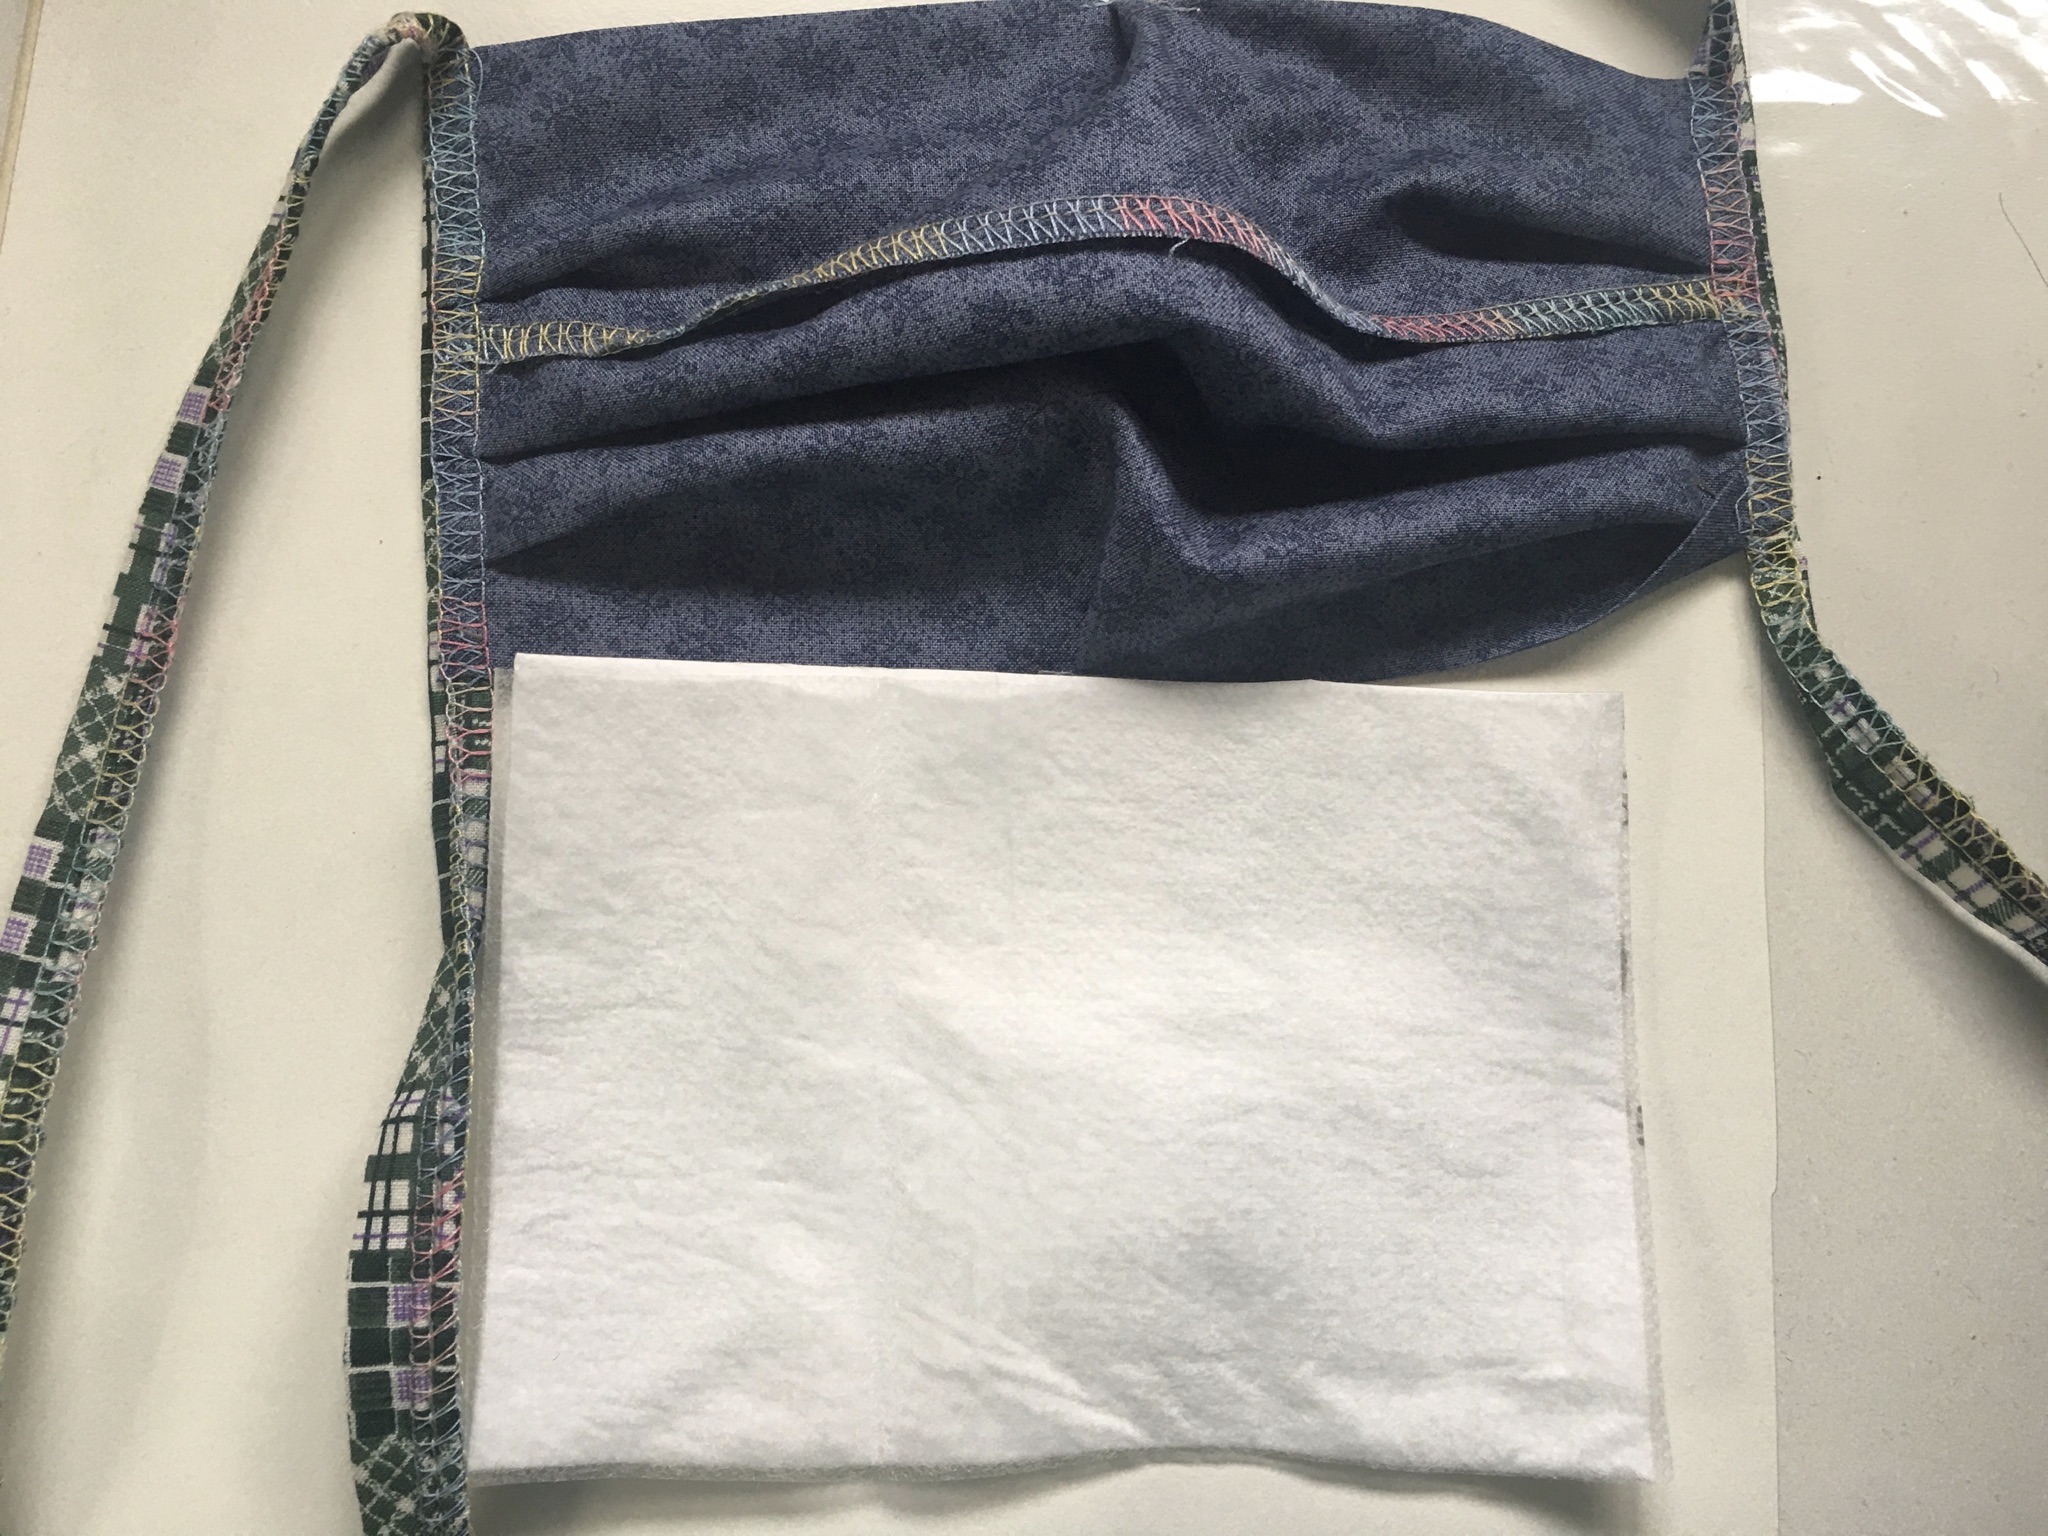
  • Can be worn with or without a filter inserted between the 2 layers of fabric.
    BAB48949-657B-44B9-8731-6421603452D7_1_105_c.jpeg

The construction is detailed on the attached pdf, so I’ll not repeat here.  Just click on this link for detailed instructions.

Quick Surgical Mask